Video OnTheGo
Simply scan this QR Code with your smart phone
to take this video with you on the go.
 Got it!
2023 Easy Workflow - AM5 + ASIAir

Peter Zelinka
Additional Information
Related links, images and relevant information involving this howtube video.
We're going to cover a lot in this video, so you may need to pause occasionally for a quick break! There's a lot to get through, and I didn't want to drag things out too much.
Step 1: Find Polaris / North and Setup Mount
When I get to my shooting location I always look for North or Polaris (depending on how dark it is). If I can see Polaris, I'll setup the mount so it's directly over it. I like to crouch down, look straight up the telescope mounting bracket, and adjust my tripod if necessary. I can't stress enough how important this step is. During my winter workshops this was one mistake the students often made, and it cost them valuable shooting time. So if you're ever having trouble polar aligning, just crouch down behind your mount and verify Polaris is dead-center over the top.
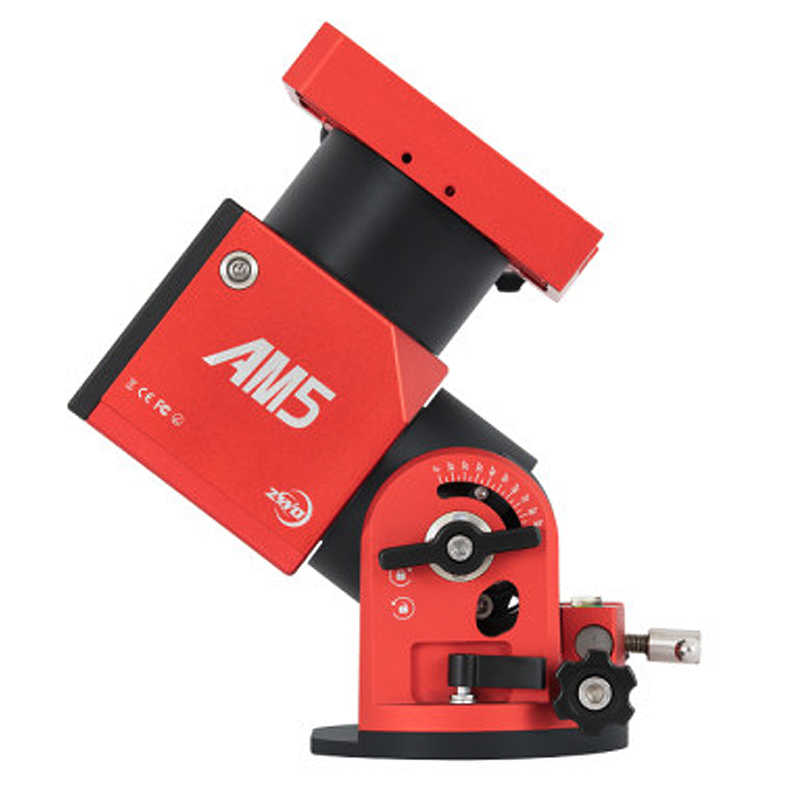
Step 2: Dial Latitude into Base
You'll need to know your current latitude for the polar alignment. You can use whatever app you prefer. For example, I'm either at 48* North at home, or 37* North in Kanab. I can dial that into the AM5's base, so the mount is aimed up at Polaris. You'll want to remember your latitude when you first start up the ASIAir.
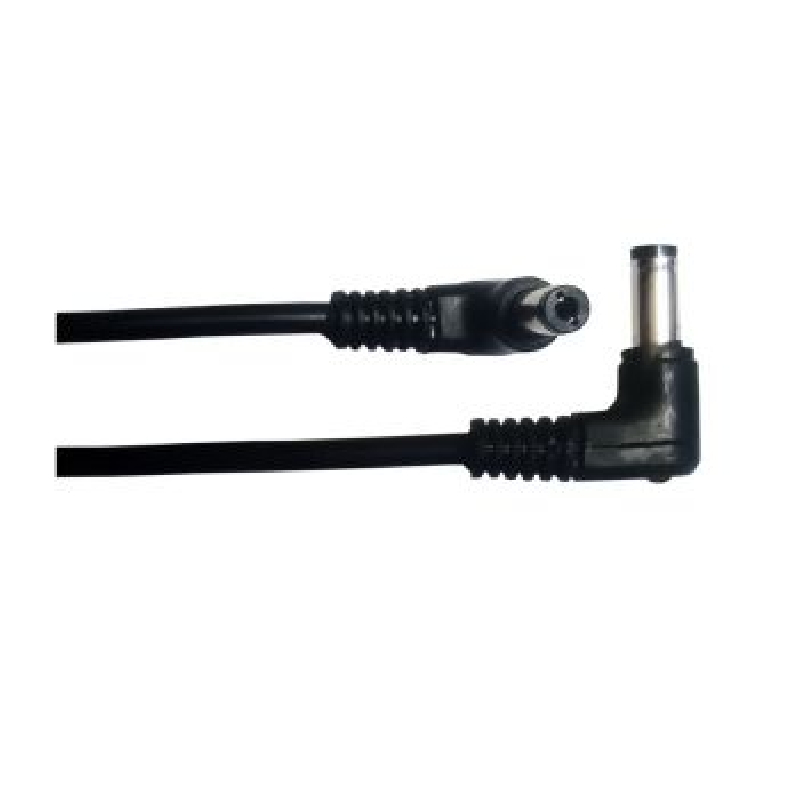
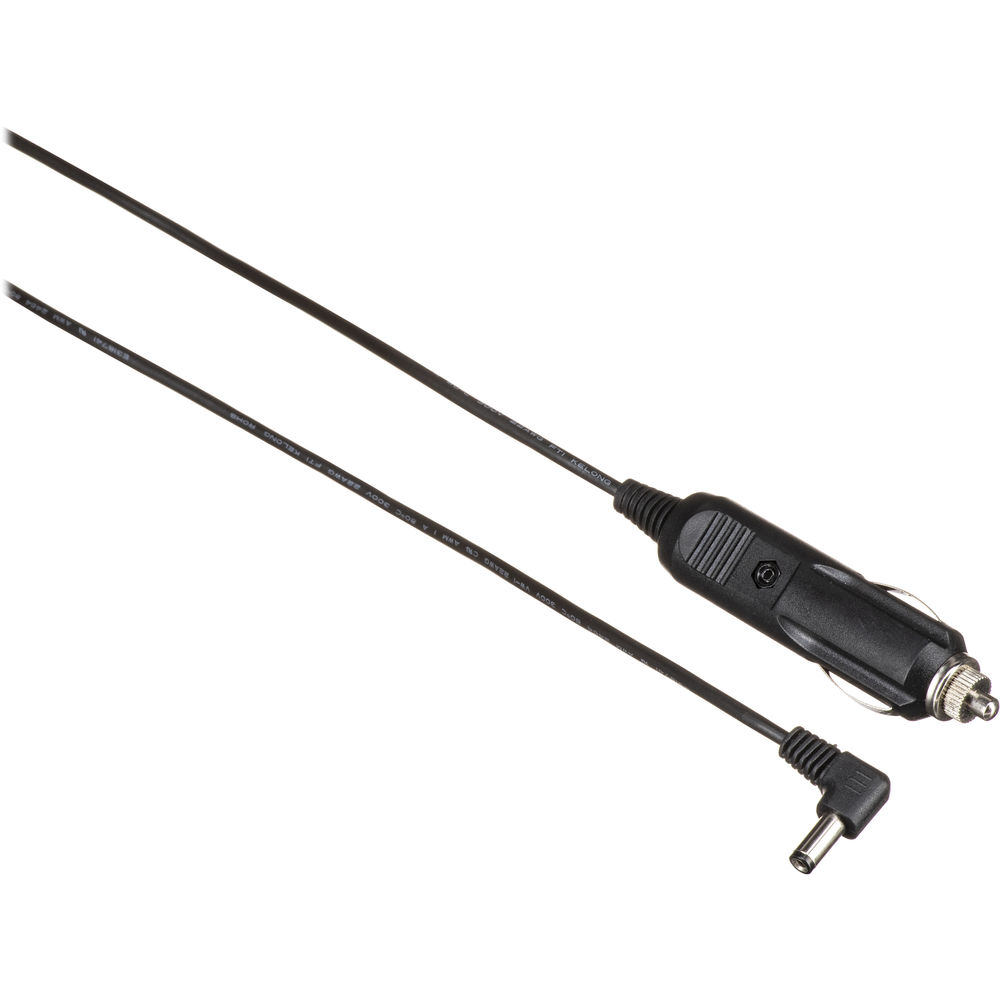
Step 3: Attach Cables
Pretty straightforward, attach your cables from the camera to the ASIAir and mount. Turn on your battery once everything is connected. If you have any issues where the gear is not showing up in the ASIAir, double-check the cables were plugged in correctly. You can also try restarting everything, oddly enough that may fix the problem.
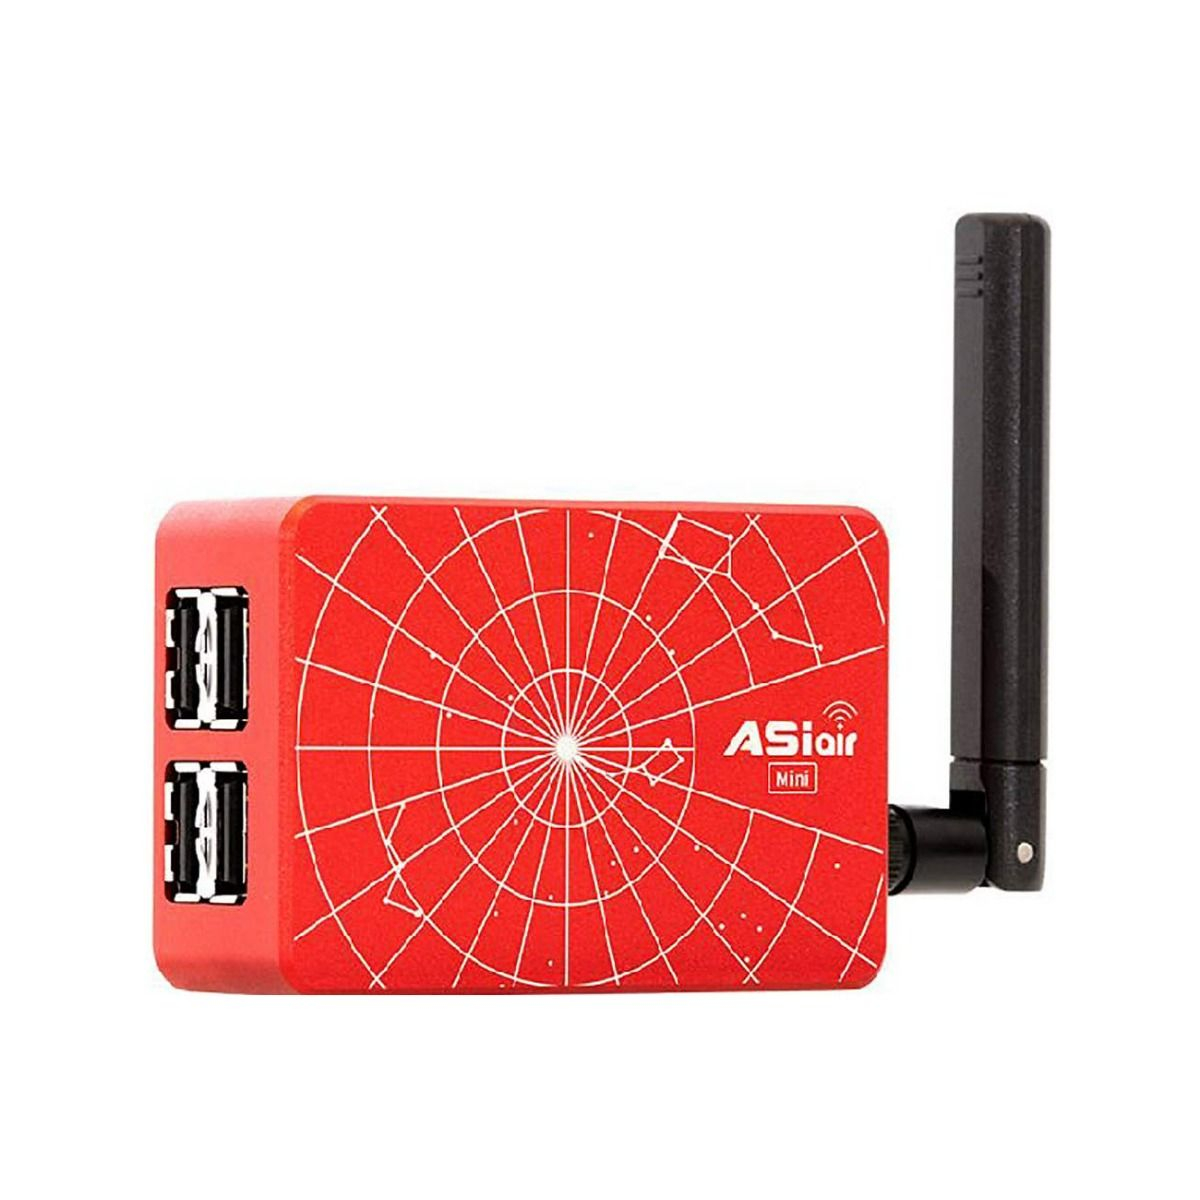
Step 4: Connect to ASIAir
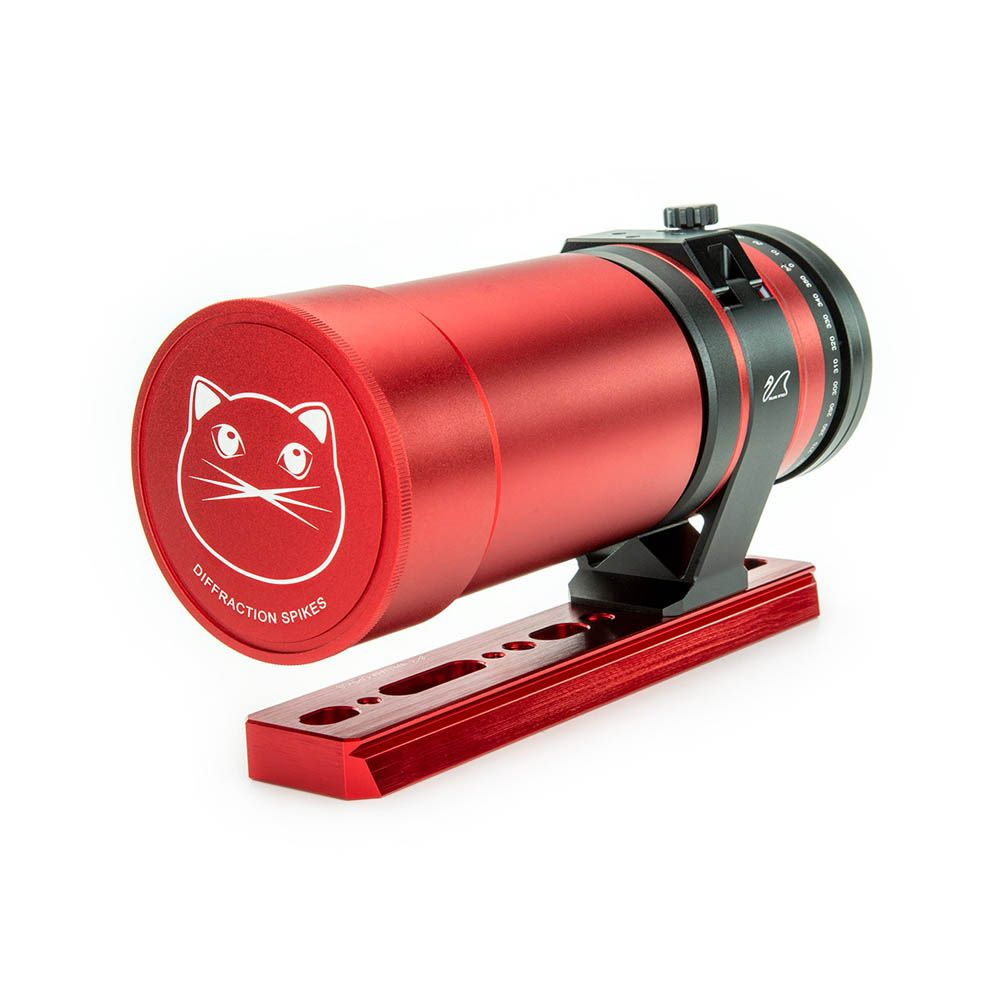
Everything is now connected and powered on. You can go to your iPad or phone and look for the ASIAir's WiFi network. Once connected, open up the ASIAir app. In regards to the "Main Scope Focal Length", this is your actual telescope focal length, with no crop factor applied. So, my SpaceCat is 250mm, which I'll enter there. Even though I have a 2.7x crop, that doesn't change the actual focal length. While you're in this initial menu, verify the Latitude and Longitude is correct. If not, enter the coordinates manually.
As I said in Step 3, you may have an issue where your camera (especially a DSLR) is not showing up. DSLRs are much trickier to get working than a dedicated astro camera. If your dedicated astro camera isn't showing up, it's most likely because you have not connected a power cable between the camera and ASIAir. If your DSLR isn't showing up, it could be for a number of reasons. Verify the camera is on Manual Mode (or Bulb), turn off any delayed shutter modes, put the format to RAW (no JPEGs), manual focus, etc.... Then turn off the DSLR, and plug the cable back in. Turn it on again, and it might now show up in the ASIAir. If it still doesn't work, find another USB cable (preferably the one that came with your DSLR).
If you just cannot get your DSLR to show up, just click Enter anyway and move on. We can worry about it later.
Step 5: Focus
When you first enter the shooting workspace, you should be in the Preview mode. This is where we take test photos, they won't actually be saved. I'd recommend attaching your Bahtinov Mask, if you haven't done so already. Then change the EXP to 3 seconds. Click the circle button to take a photo. You should now see some stars with the diffraction spike pattern. Adjust your focus ring, then take another test photo. Repeat this until your stars are properly focused. It may take upwards of 10 minutes. Don't worry about getting it perfect though! We'll need to refocus later anyway. I just want the stars sharp enough for the polar alignment stage.
For those using a color camera and narrowband filter, you may have trouble seeing any stars. This is because your narrowband filter blocks a lot of light! There are a few ways to deal with this. First, increase the EXP to 10, 15, or even 30 seconds. This will help to show the stars better. Alternatively, use the Sky Atlas feature to find a bright star somewhere up North. Any of the Big Dipper stars should work well. If you can center up a bright star, that would make focusing much easier. After you've got things focused on that bright star, put the mount back to the Home Position (aka Polaris). You can do this under the Mount Settings button up top, then scroll down until you see "Go To Home" or something similar. If you forget to go back to the starting position, you'll have trouble during Step 6.
For those with a monochrome camera and filter wheel, I recommend using the L filter to focus with. This lets in the most light, so you can quickly get the telescope roughly focused.
Step 6: Polar Alignment
Take off the Bahtinov Mask if you haven't done so already. Take another test photo to verify your stars look sharp. Now, click on "Preview" and change to "PA". This is the Polar Alignment interface. It's pretty straightforward thankfully. Just click the Play button and it should handle the rest. You'll need to click "Next" and "Let's Go" once it completes its tasks.
If it worked properly, you should now see some concentric circles in the center. There's also a Total Error on the right, along with some arrows pointing up/down left/right. Focus on that, ignore the circles. We need to get that total error as low as possible. I'd recommend starting off with the worst axis. In this video, that was my altitude adjustment.
I can start by moving my altitude adjustment screw, until I think I've gone about 10 degrees. Then I'll click Refresh in the app. This will take another photo, and update the Total Error. Repeat this step until you've gotten your altitude error as low as possible. (Ideally 5' or better)
With my altitude adjustments completed, I can focus on the azimuth adjustments (left / right). I turn the screws until I think I've gone far enough, then I click Refresh.
The goal is to get your Total Error below 2'. At that point, the ASIAir will be happy and congratulate you! This should only take 5 minutes, at the most. (Provided you've been practicing!). If you're having trouble though, don't give up! Even if it takes 20 minutes, it's worth the hassle. A good polar alignment is critical to sharp stars.
If your base has terrible alt/az screws, you may have to give up eventually. For example, the SkyGuider Pro has awful screws that are very hard to turn, especially on cold nights! You could barely turn them, and accidentally go too far! Rather than wasting 30 minutes trying to get the polar alignment perfect, I would just stop if I can get to 10' or better. Then I'll click the Stop button on the right. We can continue on.
Step 7: Find Object
The polar alignment is finished, we can now click on "PA" and change it to "Preview". Next, look for the Big Dipper icon in the lower left corner. This is the Sky Atlas feature, and it's amazing!
You should see a blue box, which shows where your telescope is currently aimed to. There will also be a red box, which is where you want the camera to go to. Click and drag your finger on the screen to move the red box around the night sky. If possible, try to find your desired object this way. It's good practice, and you'll test your knowledge of the night sky.
If you're having trouble finding the object using this method, that's okay. Click on the Search button over on the left. You should now be in "Tonight's Best". This is a list of all the objects that are above the horizon currently. Scroll down, and look for a picture of your desired object. If you don't see it, click on the Search button in the upper right corner. You can enter the M number, or NGC number, or another identifier. Unfortunately the common names still don't work.
Once you've found your object, click Go-To. The mount will now move your telescope to center up the nebula or galaxy! It's remarkable how well this works, especially if you've been using a star tracker!
I should warn you though! There's a chance a cable will get snagged at this step in the workflow. So I always stand outside with my gear, and watch with a headlamp turned on. If I see a cable getting tugged, I quickly hit "Stop" in the app. Then run over and fix the cable. Please take this seriously, as one mistake can cost you hundreds of dollars (if not more!)
Step 8: Focus Again
We've got the object centered up in the frame, it would be good to double-check the focus now. If you're using a monochrome camera, switch to the first filter you plan on using. Take a 5 - 30 second long test photo, and ensure the stars look sharp. You could attach the bahtinov mask to be sure. If you cannot see any diffraction spikes due to a lack of bright stars, then there is a workaround.
Go back to the Sky Atlas. Find a nearby bright stars, then center it in the frame and click "Go-To". The telescope should now have that star centered up. Go back to the Preview window and focus. This will be a life saver for those using a color camera and narrowband filter! When you've got the star perfectly focused, go back to the Sky Atlas one more time, and center up your nebula / galaxy.
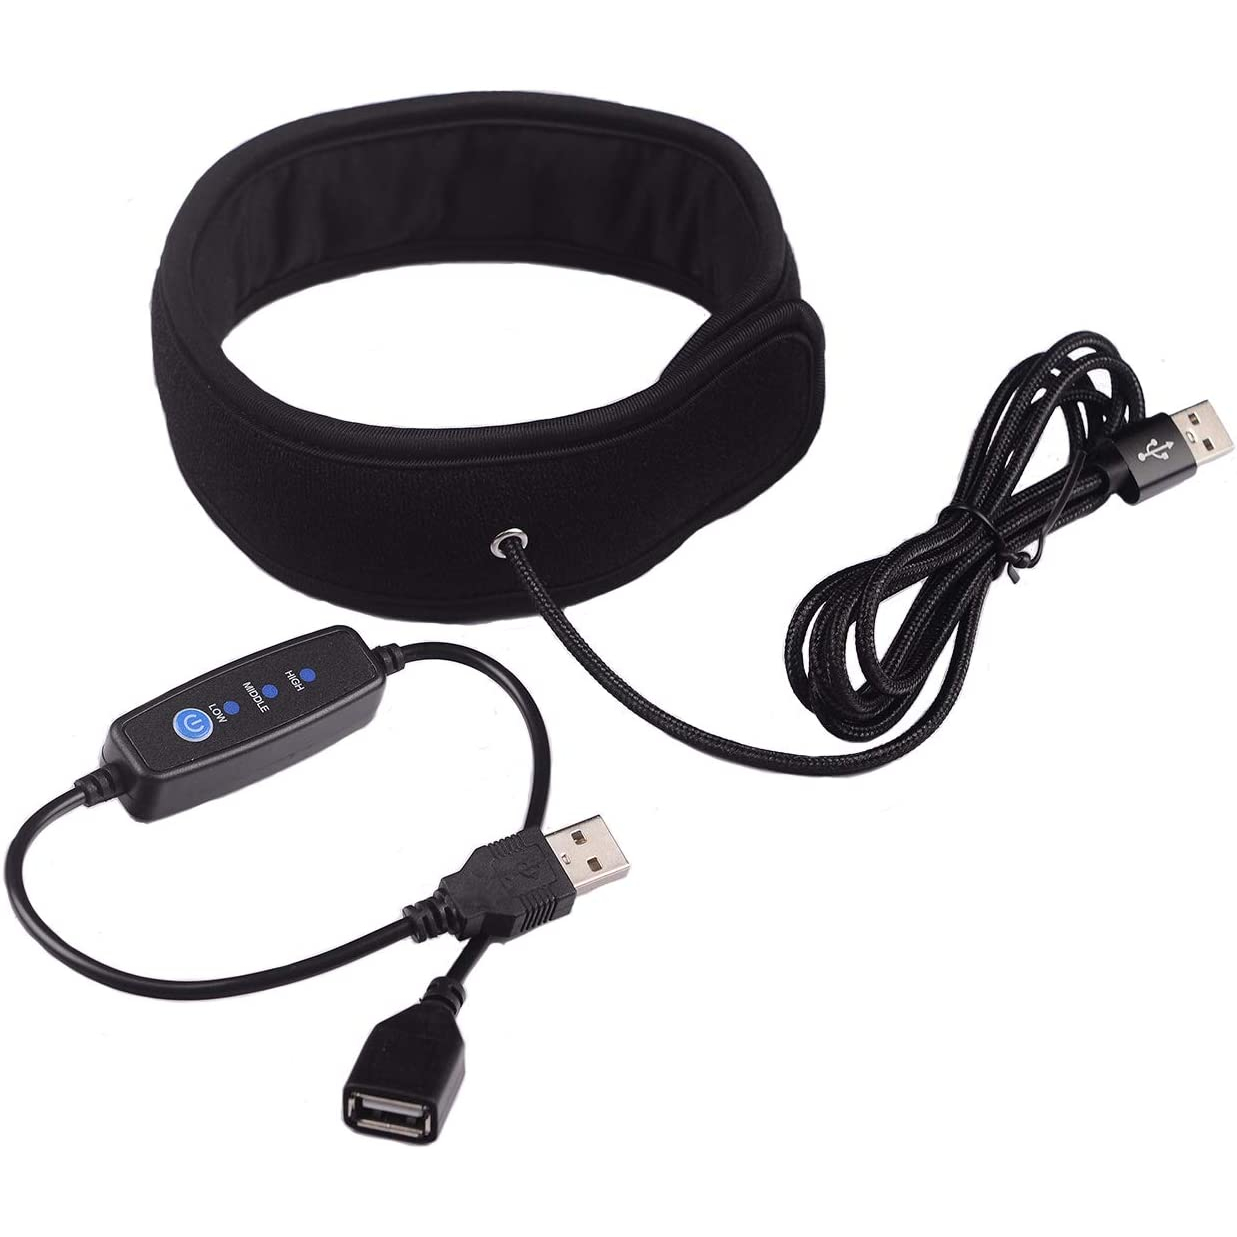
If you haven't done so already, turn on your dew heater. That will help to preserve the present focus. (As the temperature drops, the focus tends to shift throughout the night. This can be stopped with a dew heater)
Step 9: Begin Guiding
If you're in the Preview interface, click on the Guide button on the left menu. This should bring up a graph. Tap on the graph to enter the Guiding Interface. Next, click on the Begin Looping arrows. This should begin taking photos with your auto-guider and guide scope. Hopefully you see some stars. If not...damn, this is going to be a pain...
Assuming you see some fairly sharp stars, click the Begin Guiding crosshair button on the right. The software should now begin the calibration. This will take a few minutes. Don't touch anything on the mount, even walking around near it can screw things up.
For those that can't see any stars, you'll need to focus your guide scope in the dark. This is one of the most common problem I see students encounter during the workshops. They don't know how to focus their guide scopes to begin with, and it's 10 times harder at night. This is why I want you to focus them during the day, on some distant trees. Once it is focused, never take the guide scope and auto-guider apart. Otherwise, you'll need to refocus at night. Check the auto-guider videos here in the Deep Space Course for more info.
Anyway, the calibration should be finished by now, and the yellow lines turn green. The graph should automatically appear with a red and blue line. These correspond to your RA and Dec. Ideally, your Total Error is 2" or less. This indicates good guiding, and you can shoot 5 minutes at 700mm with no trails. If the guiding is 4" or worse, there's a lot of potential reasons. Guiding is very precise, so the slightest little vibrations can cause problems.
I rarely have any issues with guiding, so once you get the hang of it, you should be fine.
Step 10: Configure Shooting Schedule
If your Total Error looks reasonable, you can back out of the Guiding Interface. This should take you to the Preview screen. Click on "Preview" and change to "Auto-Run". This is where we actually take photos in the ASIAir.
Click the three dots and three lines button on the right. You're now in the Shooting Schedule. This is where you'll configure everything for the rest of the night. Start by clicking the Plus button. I normally recommend 300 second exposures. If you've got an electronic filter wheel, you can choose which filter you want to use first. Then choose the Repeat (or number of photos). I normally try to get at least 1 hour per filter. If I'm shooting 300 second exposures, that would be 12 photos.
I have now added one set of images to the shooting schedule. Since I have a monochrome camera, I have to add at least one more set of images with a different filter. I normally do R, G, and B, or H-Alpha and Oxygen. But this just depends on the object I'm photographing. If you've got a color camera, you'll only need to worry about a single set of images.
Anyway, once you've got your shooting schedule configured, look at the options on the left. The first is the Target Name. This will be the name of your Folder where the images are saved. I recommend naming it something you'll recognize. "Orion - March", or "Rosette L-Enhance". The more descriptive, the better.
If you scroll down on the left menu, you can turn on Meridian Flip, Go-To Home, and Shut Down ASIAir. This will automate the entire process for you. With these settings turned On, I know that if I fall asleep the ASIAir will handle everything for me. I can wake up in the morning, unplug my cables, and bring everything in the house.
When you've got the Shooting Schedule menu configured you can back out of it. At this point, I double check that the guiding graph still looks reasonable.
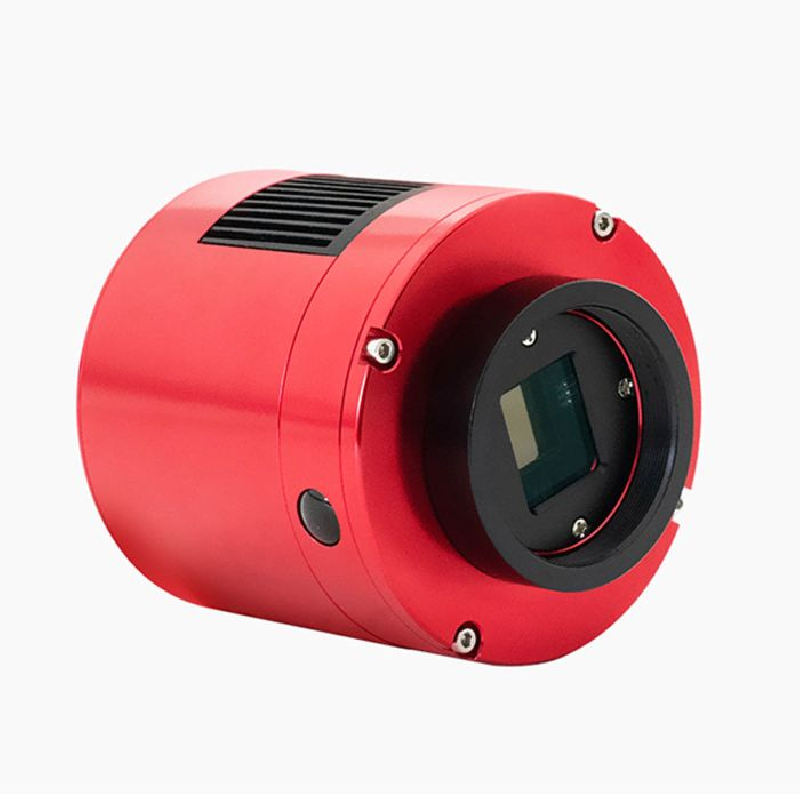
There's one final setting to check, the Main Camera's cooling system. You can find this in the Main Camera settings up top. I set mine to -20C. This keeps the sensor cold and reduces the grain in the photos. You may need to wait a few minutes for the sensor to cool down (you can see the current temp in the lower left corner)
Assuming you've got everything setup, you can click the circle button in the Auto-Run interface to begin taking your sequence of photos.
I recommend waiting for the first 2 or 3 images to complete. You can zoom into them in the interface, and verify the stars look sharp and that you like the composition. If things look good, congrats! You've completed the workflow! Feel free to relax.
Step 11: Troubleshooting
If your first few photos don't look that good, let's try to fix it. You may have some star trails. It's possible that your polar alignment got messed up at some point. Crouch down behind the mount and verify Polaris is still centered over the top of the mount. Hopefully it is. If not, you'll need to go back to Step 6.
If the stars just look fuzzy, or blurry, then you'll need to refocus the telescope. Stop the Auto-Run first. Then click on the graph and stop the Guiding. Go back to the "Preview" interface, attach your bahtinov mask, and take a test photo. Refocus if possible. If you can't see any diffraction spikes due to dim stars, you'll need to go into the Sky Atlas. Find a bright star nearby, center it up, and refocus. Take off the bahtinov mask. Go back to the Sky Atlas and center up the object you were photographing. Restart the guiding. Restart the Auto-Run. Wait. See if the stars look better now.
If the guiding is going crazy, you'll need to figure out the root cause. This could be something as simple as you walking around the mount, or gusts of wind. As I said, the guiding is very precise and these things can mess it up. Or, perhaps there are some light clouds passing over your guide stars. If the guiding software can't identify the center of a star, it will freak out.
There are times when the guiding is doing poorly for no obvious reason. In this case I click on the button above the "Begin Looping Arrows". This allows me to clear out the guiding calibration. I can now restart the entire guiding process. It will go through and recalibrate. Hopefully it picks better stars this time around. When the calibration completes, it should do better than before. I can now restart the Auto-Run and continue taking photos.
Featured Products For This Video
Shop for the products you need/found in this video
_63e9c41d417d7.png)

Comments
Comment on this video
Make a Donation
Support this channel with a recurring or one-time donation

