Video OnTheGo
Simply scan this QR Code with your smart phone
to take this video with you on the go.
 Got it!
Advanced Workflow | Star Tracker

Peter Zelinka
Additional Information
Related links, images and relevant information involving this howtube video.
The Advanced Workflow is designed for those who have upgraded from a DSLR to a dedicated astro camera. This video will show how to incorporate your new camera, along with the ASIAir, into the existing workflows. As you'll see, it actually makes things quite a bit easier. Now you can control your camera settings, look at live previews, check the guiding, and more, all from your smartphone.
One of the downsides of switching from a telephoto lens and DSLR to a telescope and dedicated astro camera, is that you can no longer zoom in and out during the test photos. Your focal length will be fixed, possibly at 500mm . This can make finding the object much more difficult on a star tracker. There are some things you can try though:
- Rubber-band a laser pointer to the side of the telescope. Turn it on briefly to see exactly where telescope is pointed to
- Use Plate Solving in the ASIAir. This will show the RA and Dec coordinates of your current image. You can use this information to help find the object you are photographing. (Although, I find this info to be a bit confusing still...)
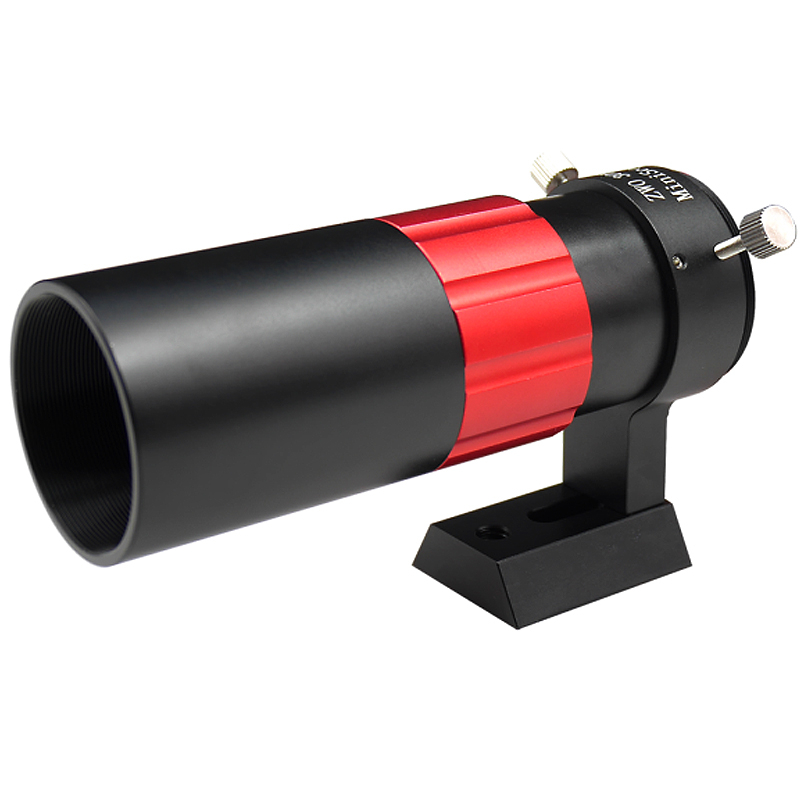
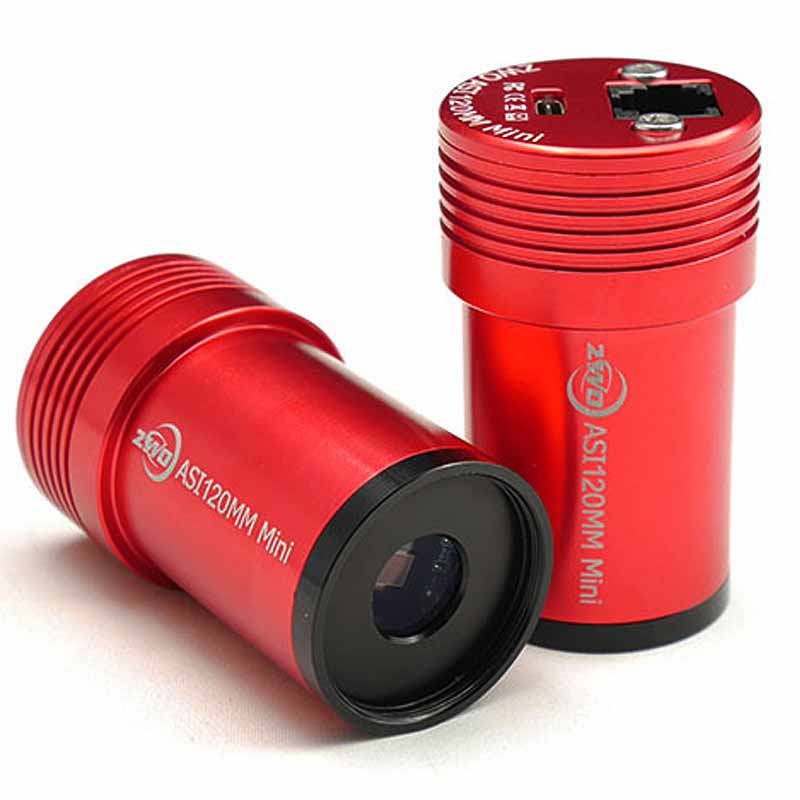
- Use your auto-guider and guide scope for a wider field of view, rather than the main camera and scope.
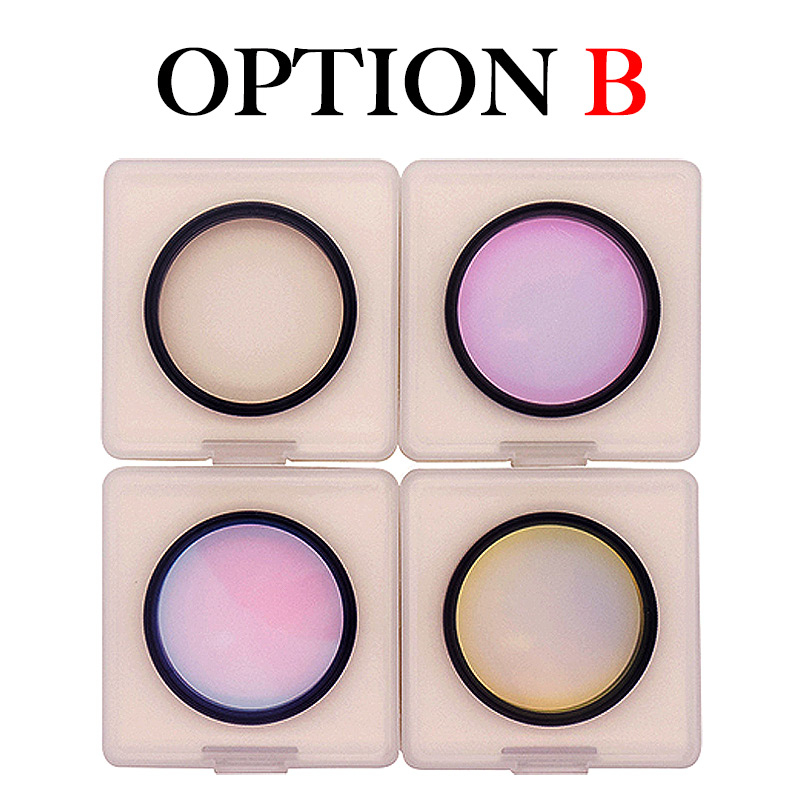
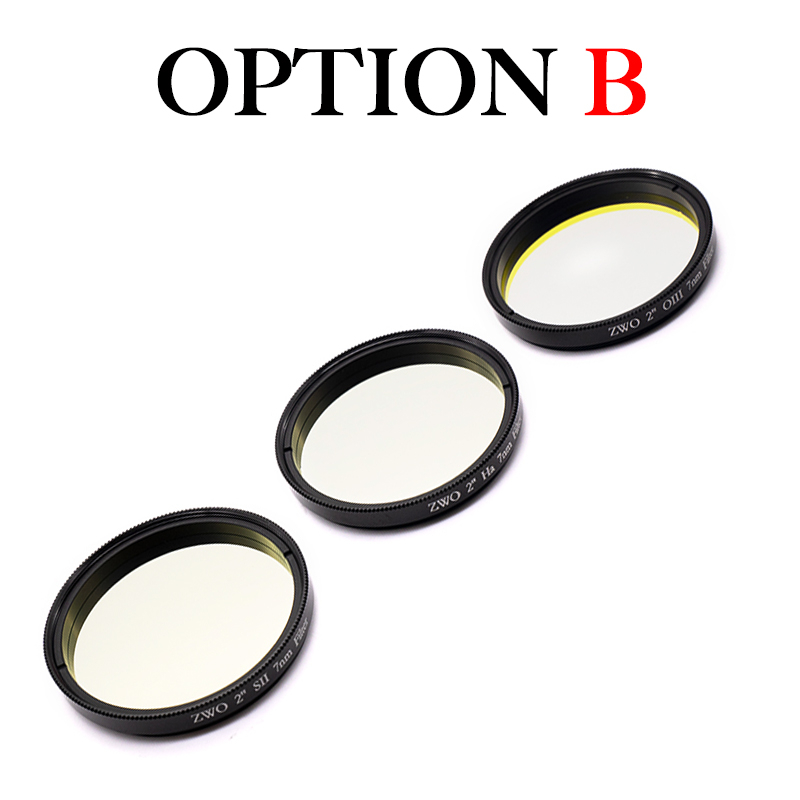
- Use a narrowband filter. This should show the nebula details much more clearly, even in light polluted skies.
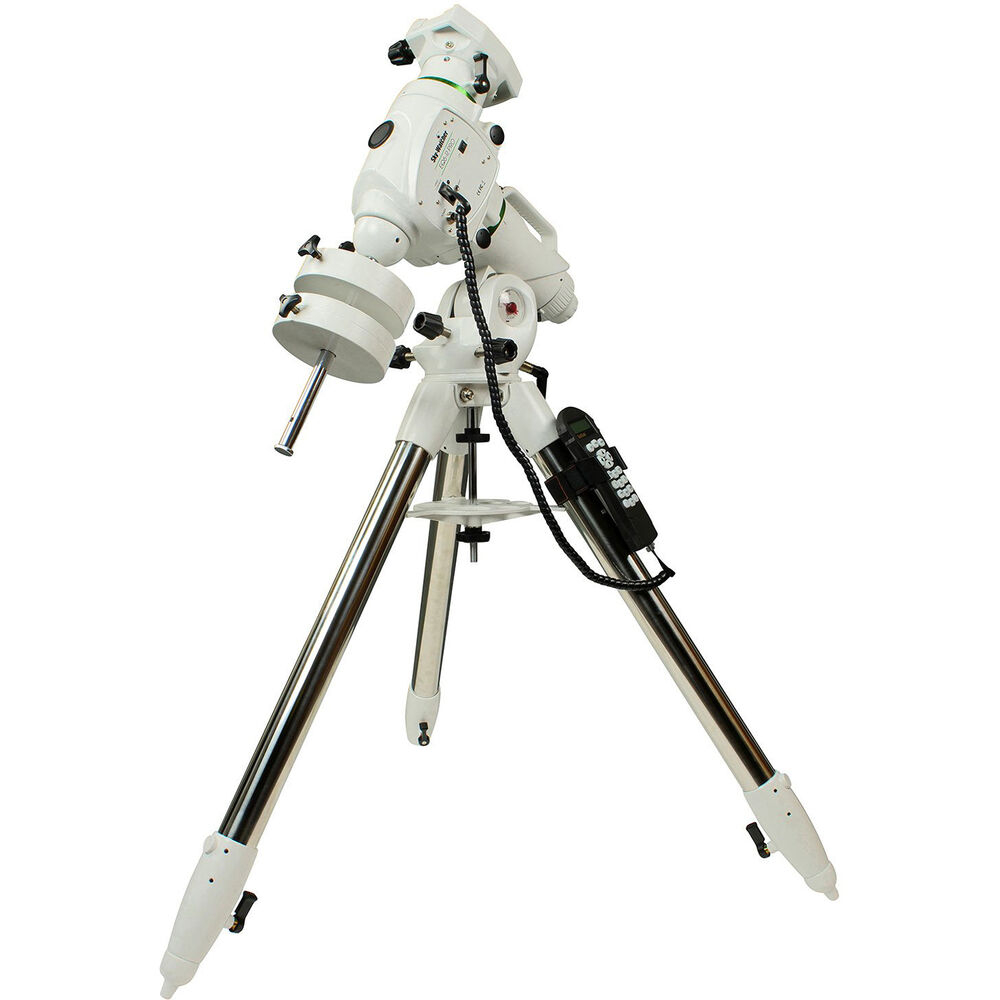
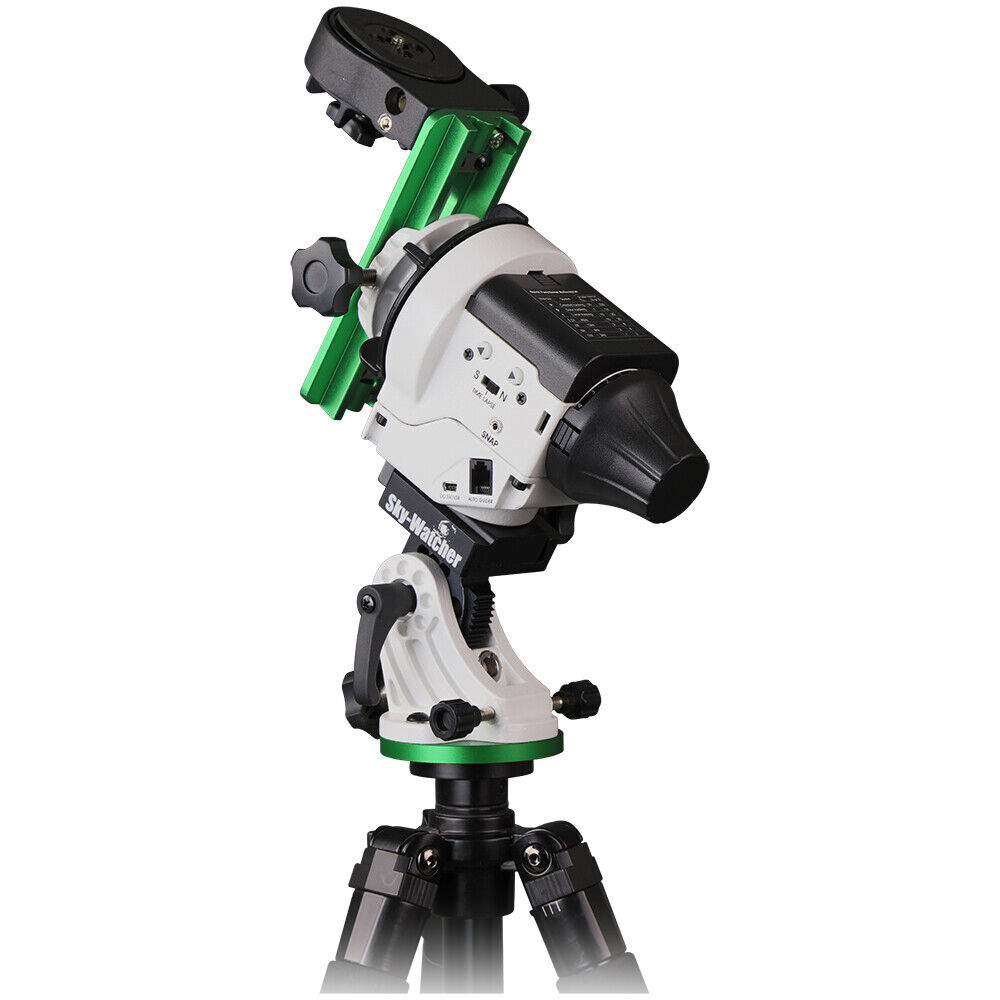
If you find that you've outgrown your star tracker, and would like to upgrade to a Go-To Mount, then continue further into the Deep Space Course. I'll explain everything you need to know about Go-To mounts!
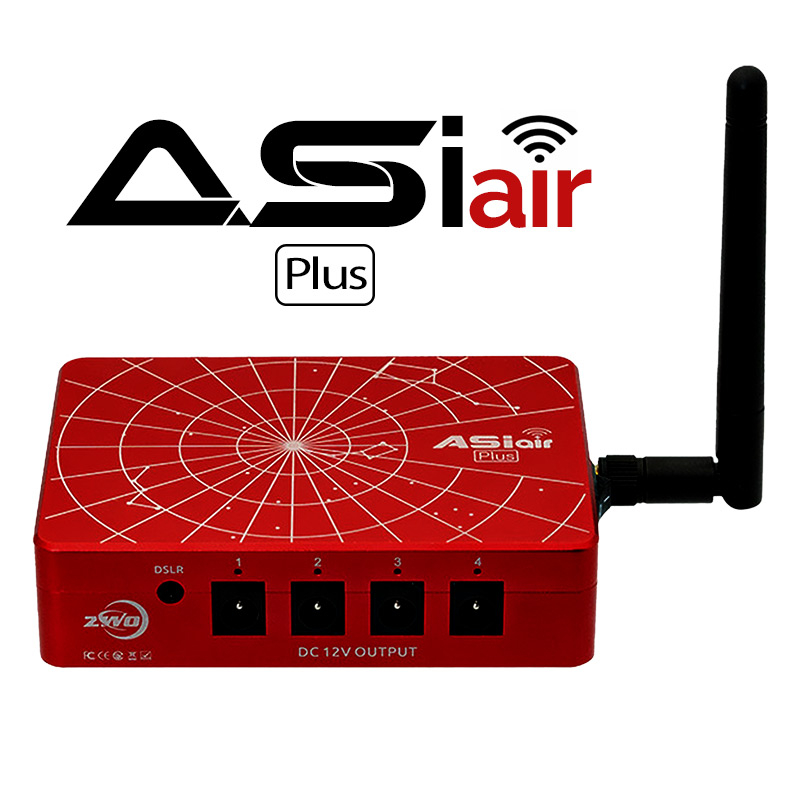
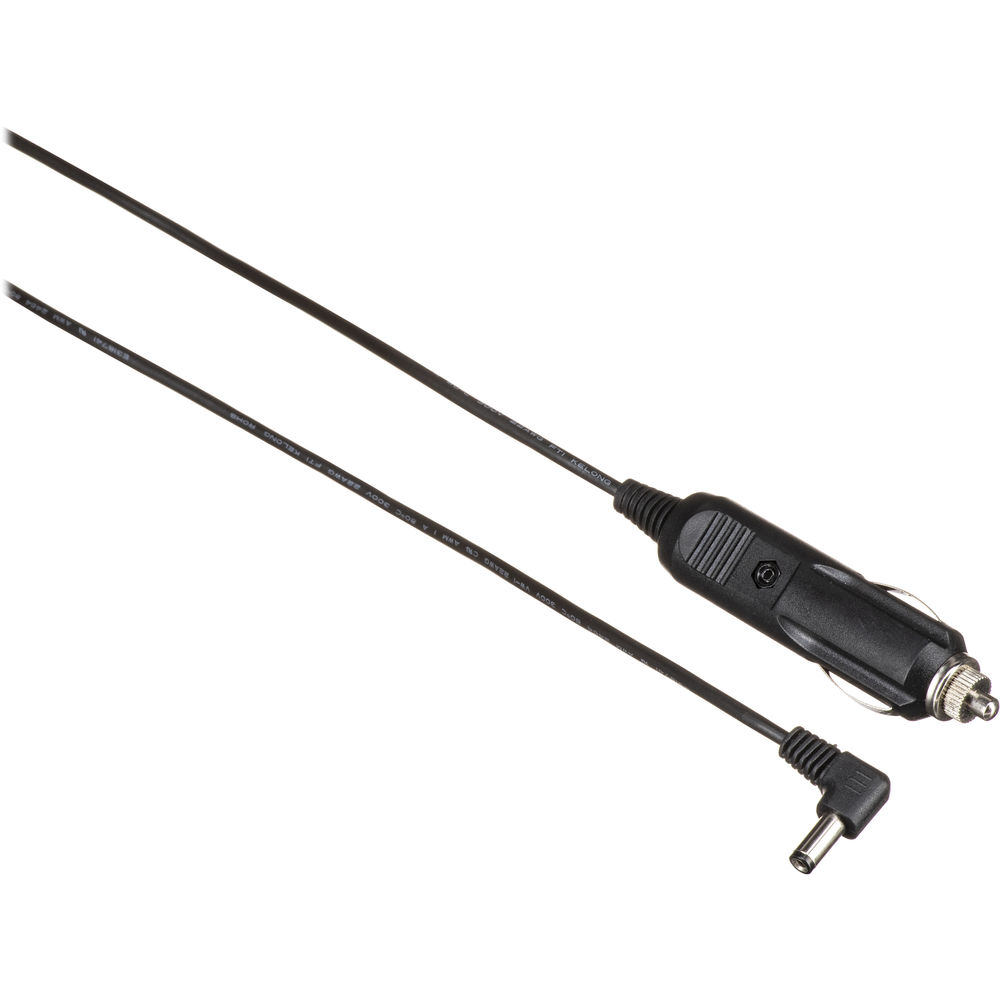
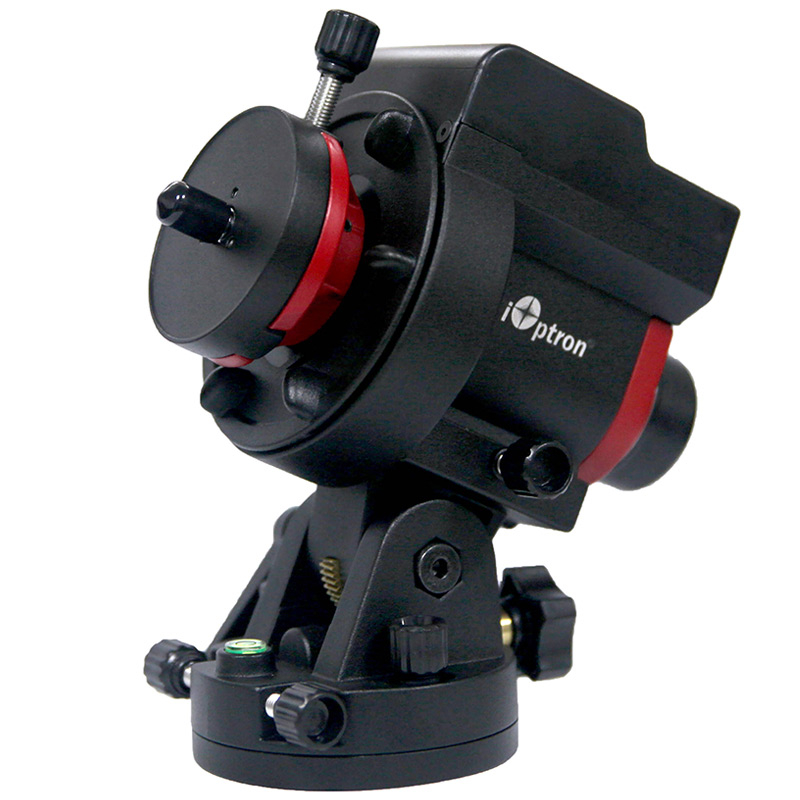
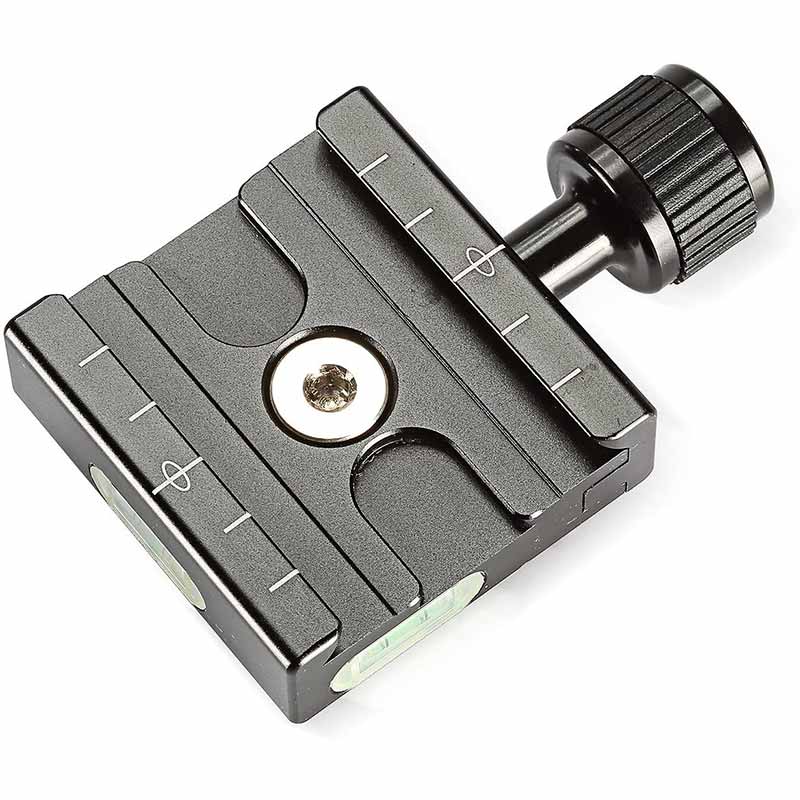
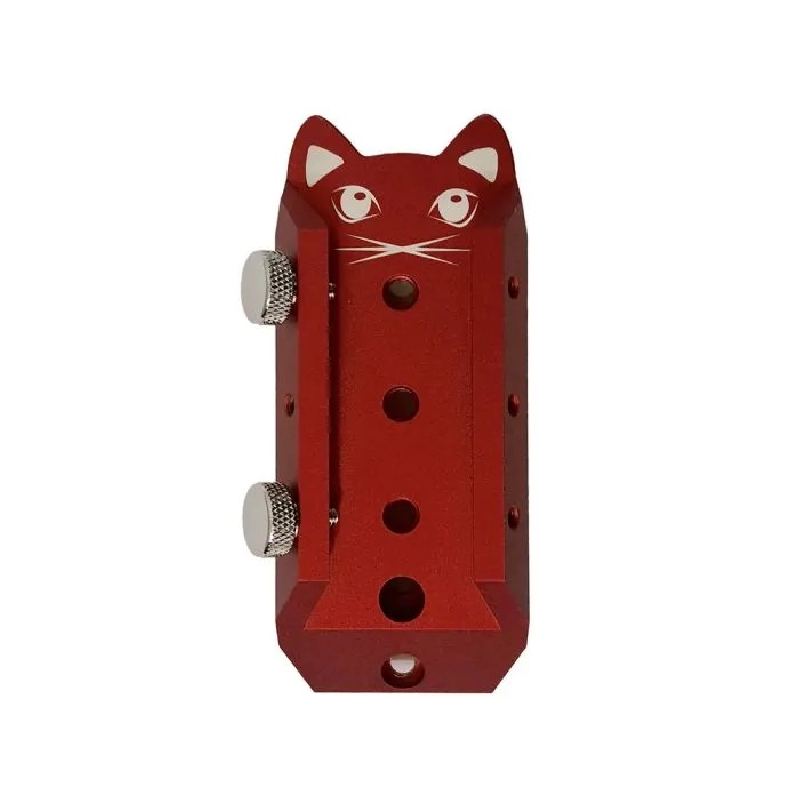
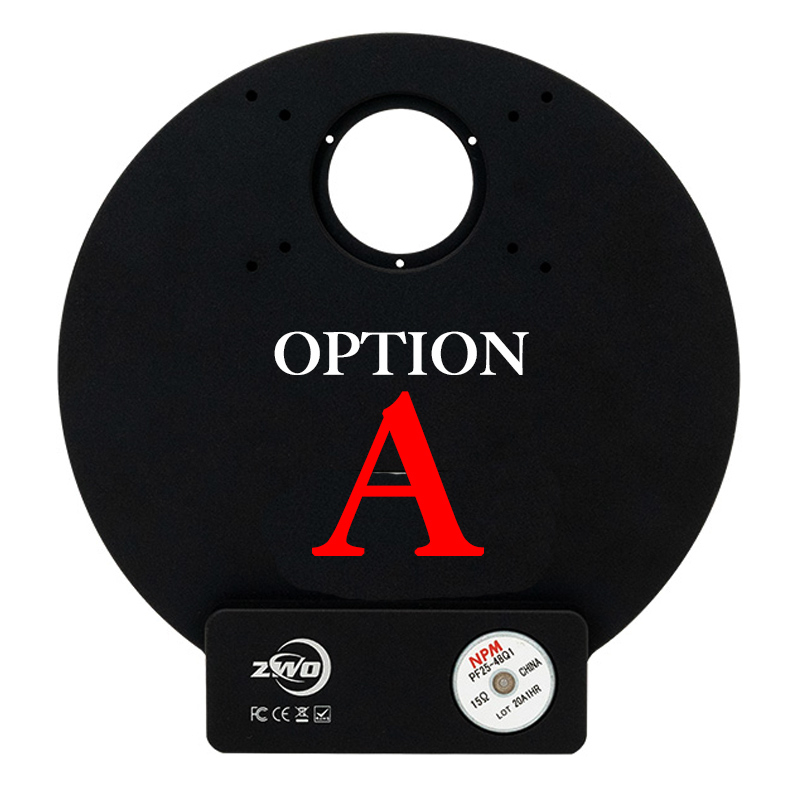
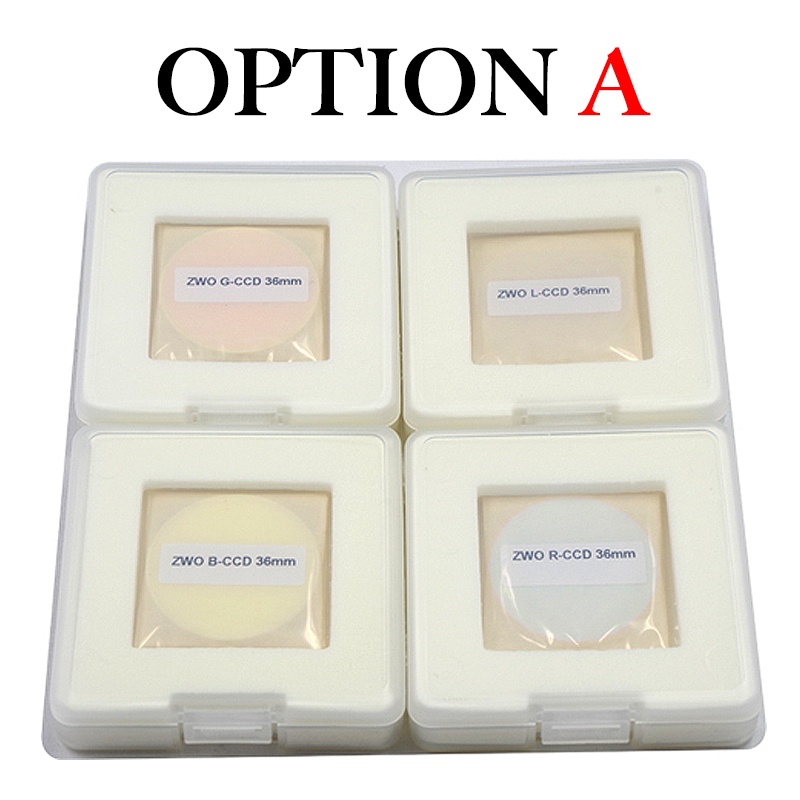
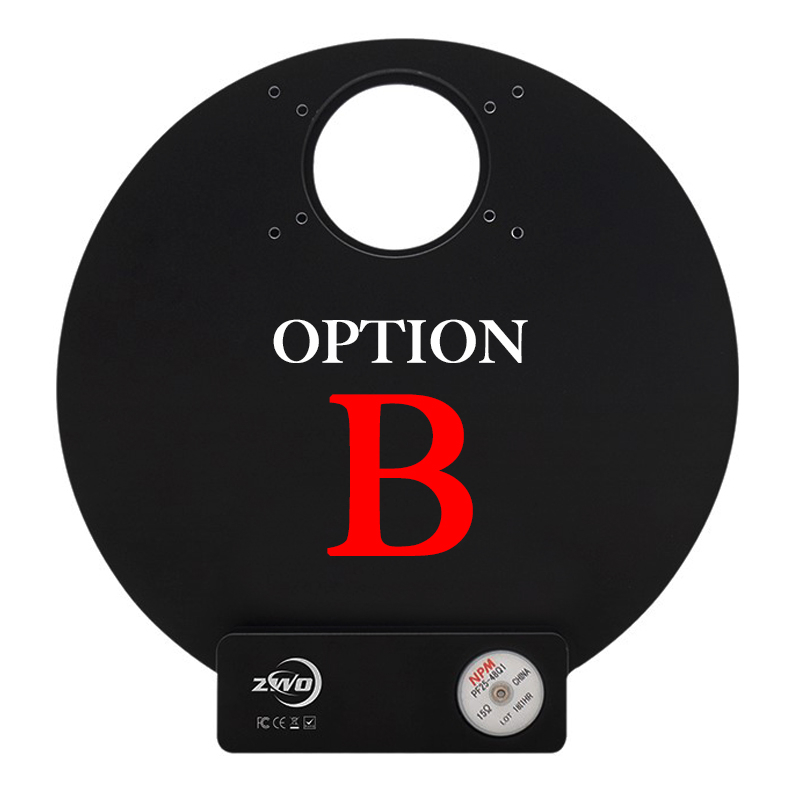
Featured Products For This Video
Shop for the products you need/found in this video


Comments
Comment on this video
Make a Donation
Support this channel with a recurring or one-time donation


GregVT
Aug 14, 2022