Video OnTheGo
Simply scan this QR Code with your smart phone
to take this video with you on the go.
 Got it!
Beginner's Workflow Part 2

Peter Zelinka
Additional Information
Related links, images and relevant information involving this howtube video.
Let's recap the basic steps for using a star tracker.
1. Find North
2. Find Polaris
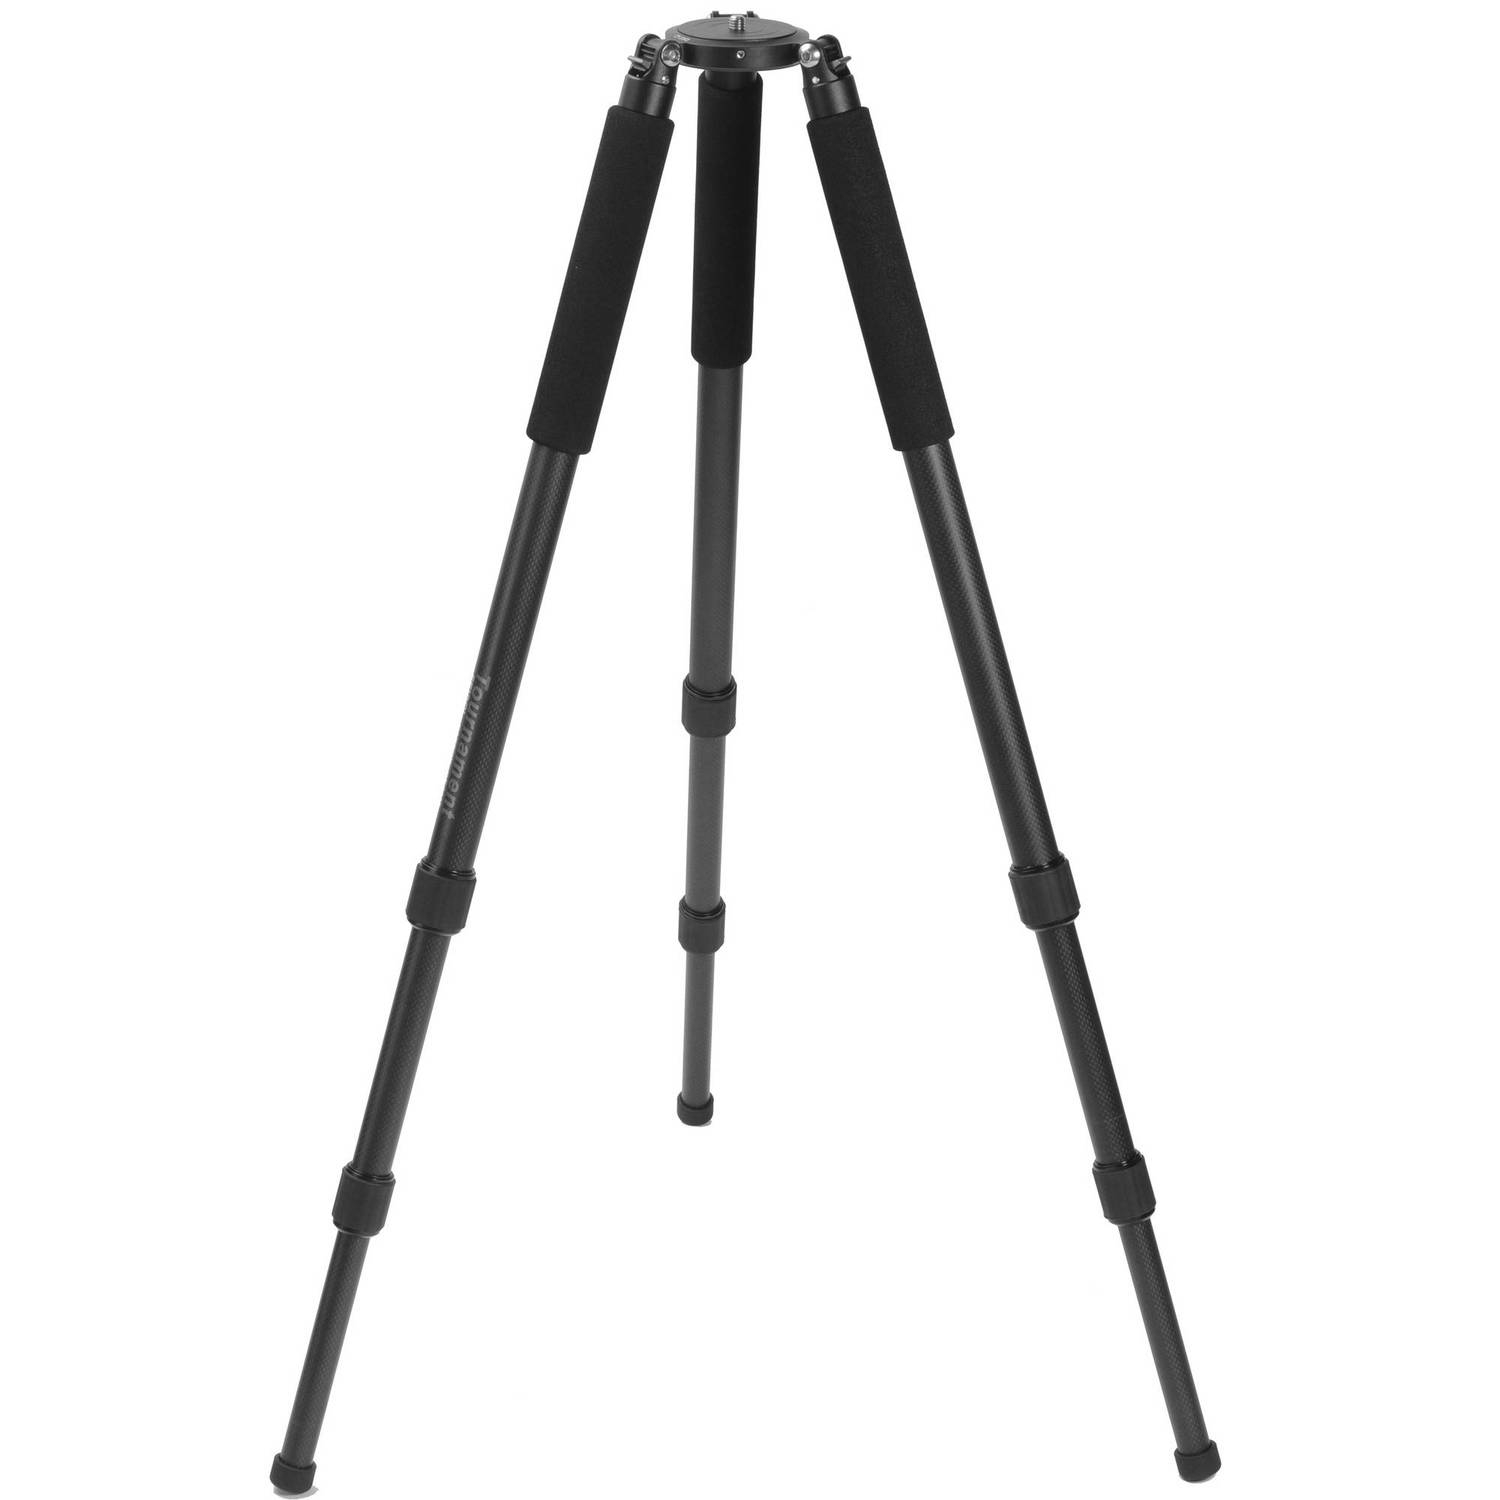
3. Setup the tripod on stable ground (make sure tripod is fairly level too)
4. Verify leg locks are tightened down
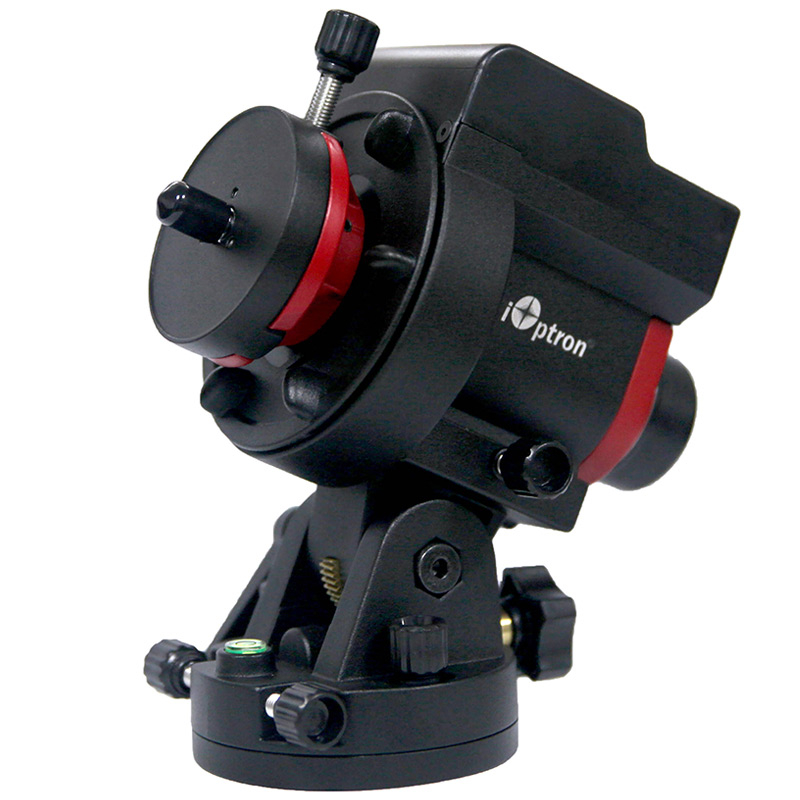
5. Attach star tracker
6. Use Polar Alignment App to see where to position Polaris
7. Dial in Latitude on the base/wedge
8. Do a rough polar alignment
9. Attach camera gear to star tracker
10. Balance camera gear in RA and Dec
11. Double-check polar alignment
12. Find object you want to photograph
13. Get object centered in frame at desired focal length
14. Take test photos to find max shutter speed without star trails
15. Adjust ISO based on max shutter speed
16. Take first real photo
17. Check for star trails in image
18. If things look good, start taking full series of images
19. If things look bad, double check if the star tracker is turned On, if polar alignment is still good, if Hemisphere on tracker is set correctly
20. Stop the camera every 15 minutes and verify images are still sharp
21. You may need to refocus the lens/telescope multiple times throughout the night if the temperature is dropping
22. Once all light frames are complete, consider taking Dark Frames and Flats
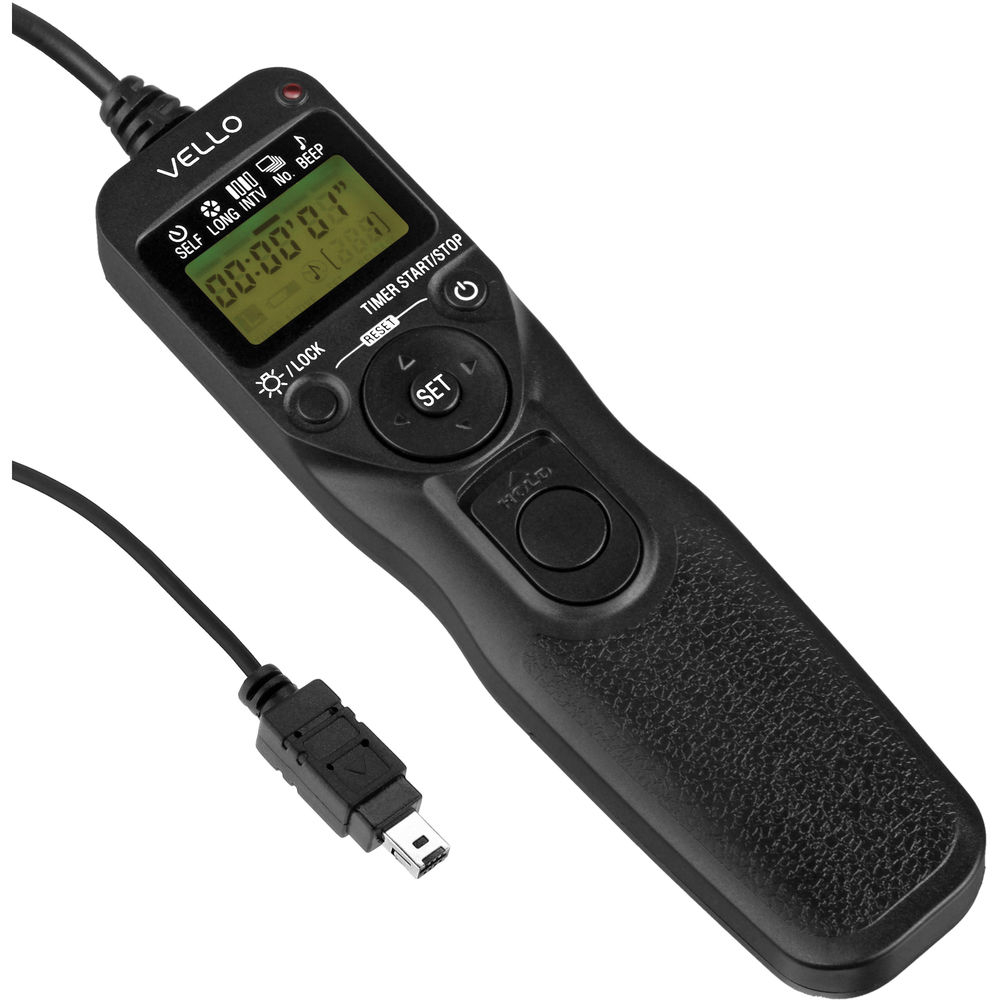
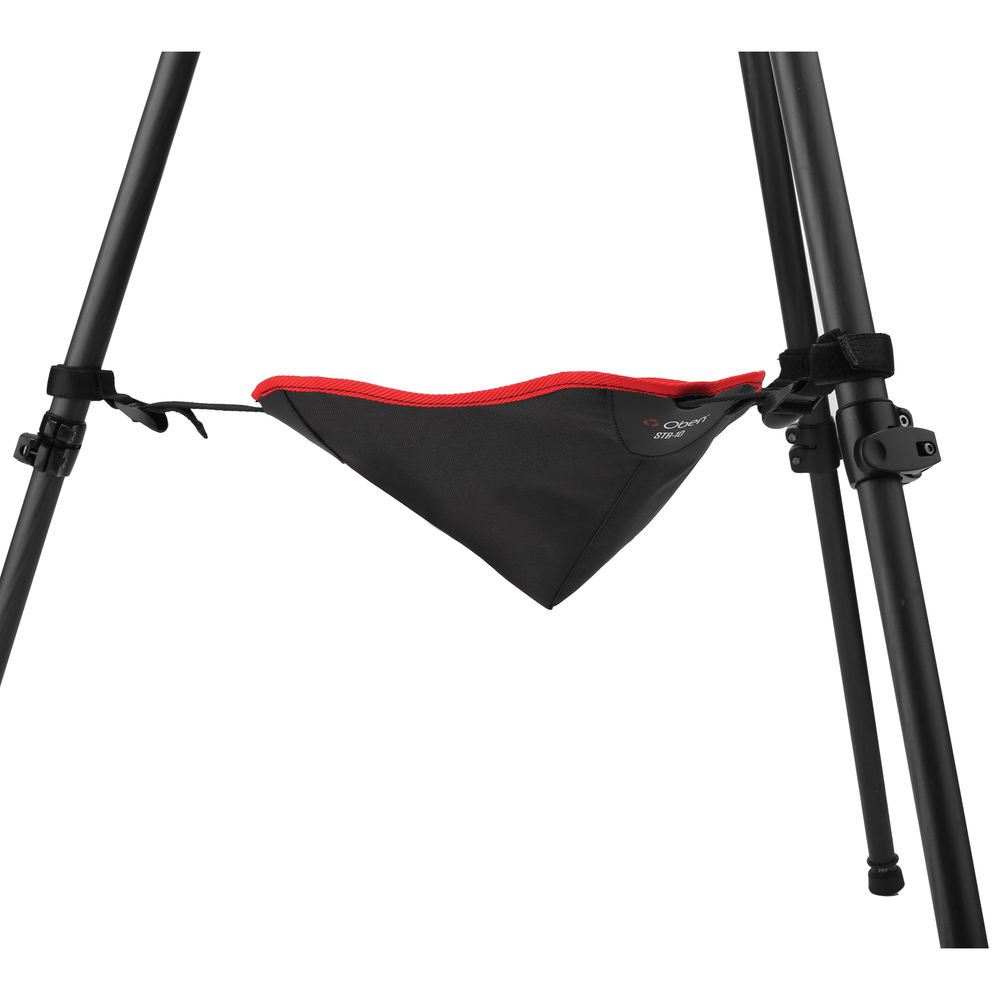
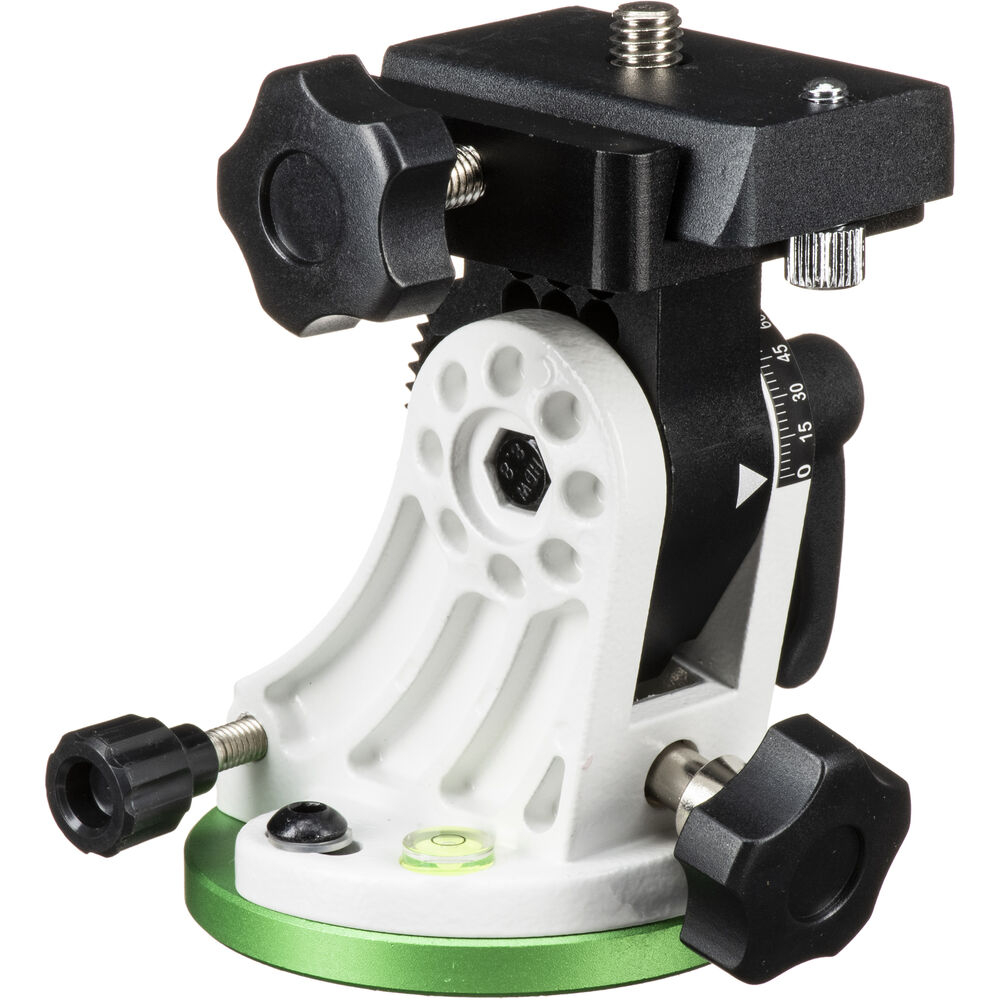
Featured Products For This Video
Shop for the products you need/found in this video


Comments
Comment on this video
Make a Donation
Support this channel with a recurring or one-time donation

