Video OnTheGo
Simply scan this QR Code with your smart phone
to take this video with you on the go.
 Got it!
Choosing your Workflow

Peter Zelinka
Additional Information
Related links, images and relevant information involving this howtube video.
Throughout the Deep Space Course I have three different workflows.
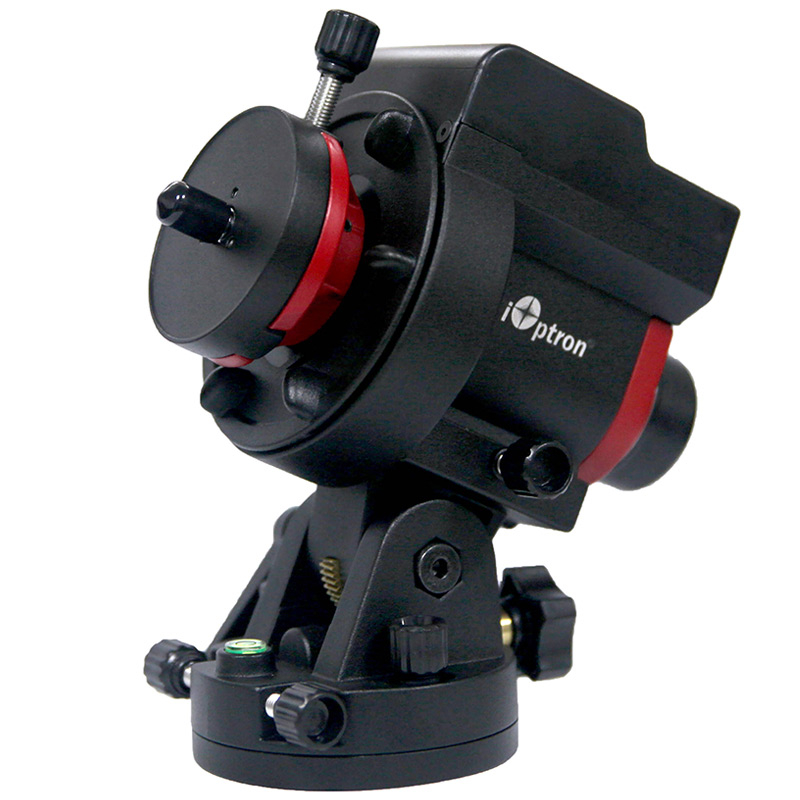
The Beginner Workflow is designed for the average person who just bought a star tracker. They also have a simple DSLR and telephoto lens, nothing too fancy. This Beginner Workflow will get you up and running and feeling comfortable with the astrophotography process.
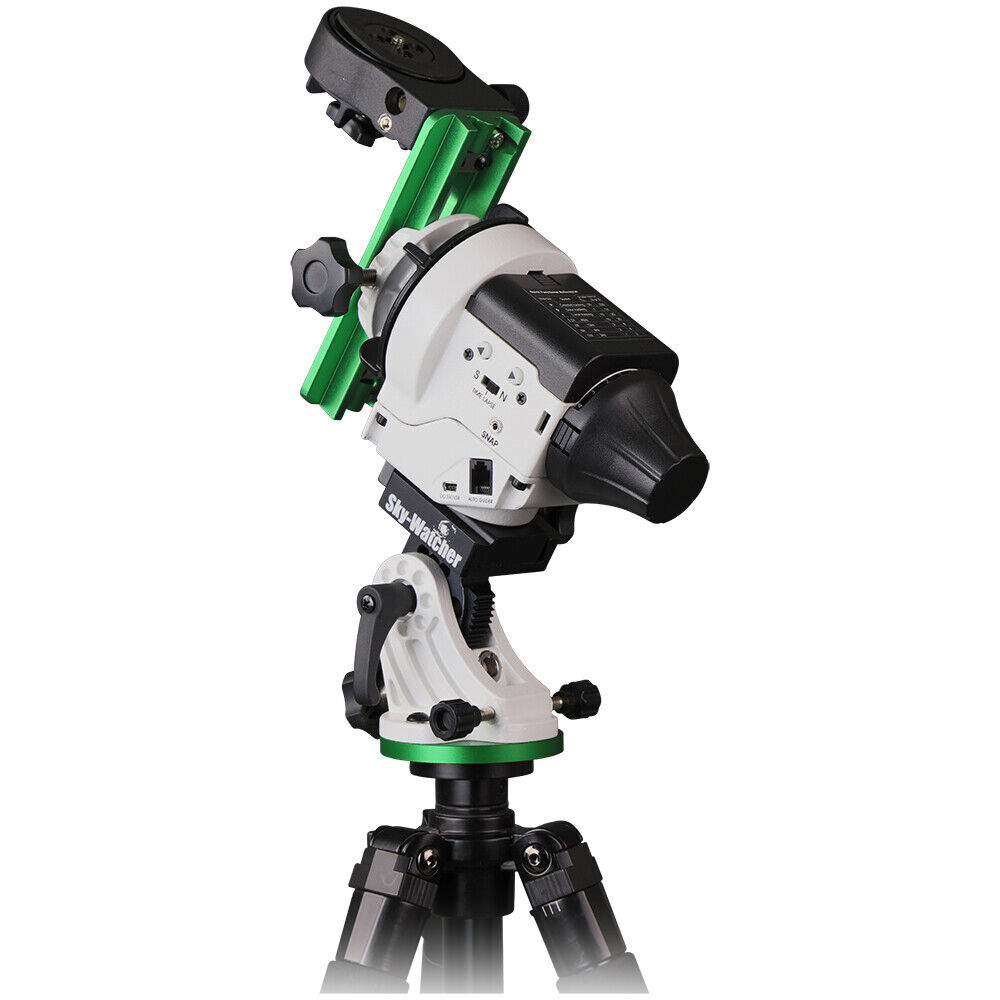
The Intermediate Workflow is for those of you who've been using your star tracker for a few months. You're comfortable balancing your RA and Dec axes, and you've gotten some great shots. To take things to the next level, we'll incorporate an auto-guider. This auto-guider allows the star tracker to run much more accurately at high focal lengths. In my experience, I was able to go from 30 second exposures at 400mm, to 4 minute exposures at 400mm. That's a big increase, and I still have sharp stars!
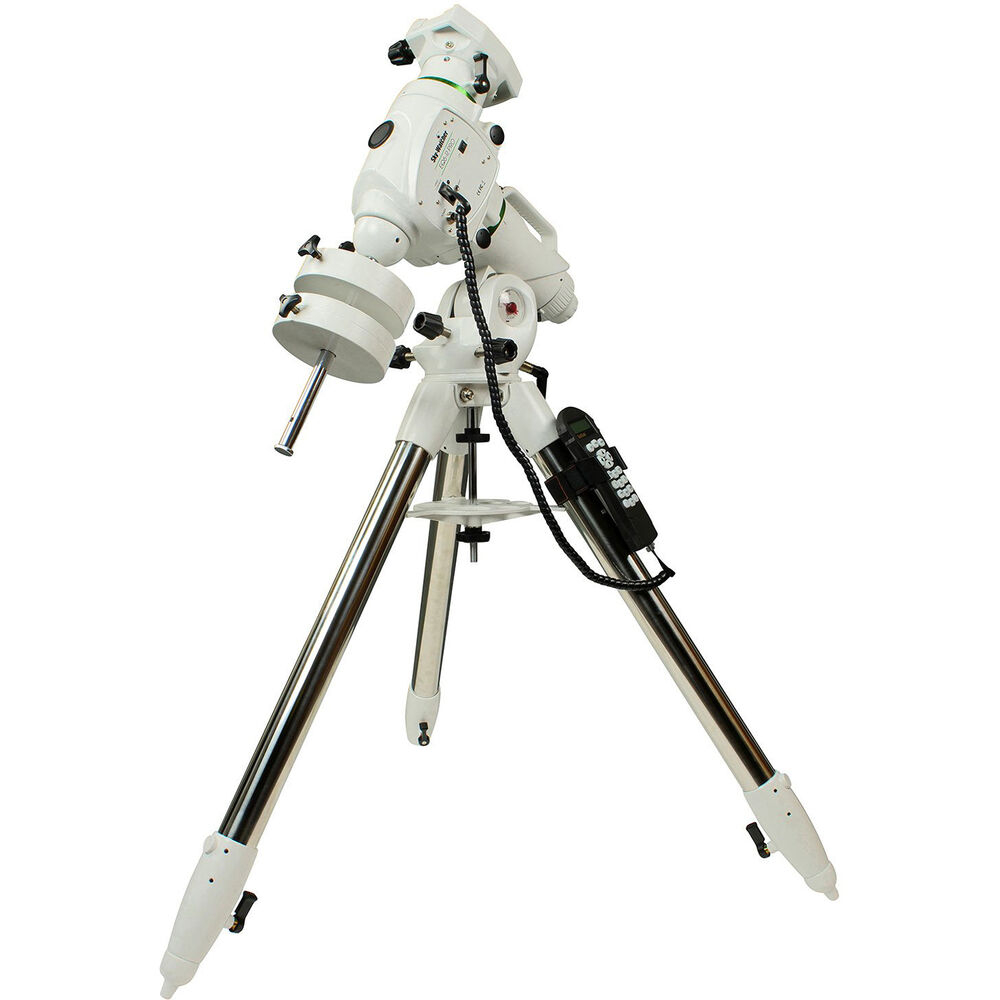
The Advanced Workflow is where I'd like everyone to eventually get to. We'll use a dedicated astro camera, special filters, an ASIAir, and an auto-guider to get the most from the star tracker, or even Go-To mount. This combination makes astrophotography much easier (after a little practice), and opens up a whole new world of possibilities.
Featured Products For This Video
Shop for the products you need/found in this video
Comments
Comment on this video
Make a Donation
Support this channel with a recurring or one-time donation

