Video OnTheGo
Simply scan this QR Code with your smart phone
to take this video with you on the go.
 Got it!
iPolar - Polar Alignment Tutorial

Peter Zelinka
Additional Information
Related links, images and relevant information involving this howtube video.
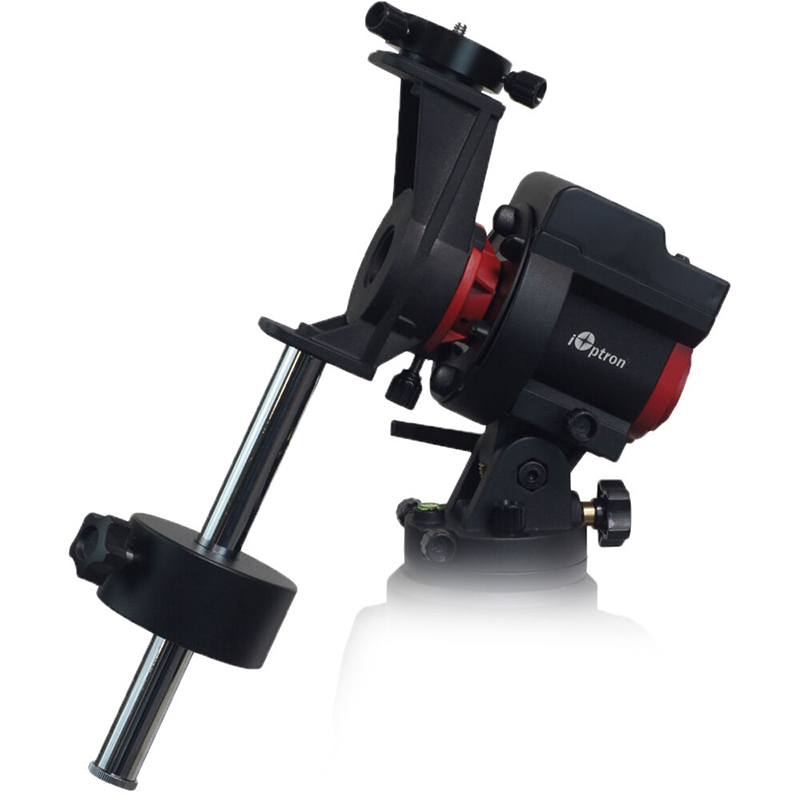
The iOptron SkyGuider Pro comes in two different variants - iPolar and Polar Scope. I generally prefer the original Polar Scope for a variety of reasons. However, if your eyesight isn't great, or if you live in the Southern Hemisphere, then the iPolar might be a great choice!
Basically, you aim your SkyGuider Pro up towards Polaris and dial your latitude into the base.
Now, you can attach the USB cable from your laptop to the iPolar camera on the SkyGuider Pro. Load up the iPolar software on your laptop.
You'll need to input a variety of settings into the software, including the current latitude and longitude, the atmospheric pressure, your elevation, and more.
If that all looks good, the iPolar should start taking photos and display a preview on-screen. You'll need to adjust your alt/az screws on the base until the red crosshair and red circle line up perfectly. After you've done it, you're all set!
Keep in mind, once you attach your camera gear, the polar alignment will shift. So I recommend re-doing the polar alignment after you've attached and balanced all your camera gear.
Featured Products For This Video
Shop for the products you need/found in this video
Comments
Comment on this video
Make a Donation
Support this channel with a recurring or one-time donation


walpas1217
Jul 9, 2023
HenryD
Nov 24, 2022