Video OnTheGo
Simply scan this QR Code with your smart phone
to take this video with you on the go.
 Got it!
Learn how to Photograph the Annular Eclipse

Peter Zelinka
Additional Information
Related links, images and relevant information involving this howtube video.
The next Annular Eclipse will take place on the morning of October 14th, 2023. It will mainly be visible from the Southwestern United States (as well as Central and South America). If you'd like to photograph this unique event, you'll need a few important components.
Preparing for the Eclipse
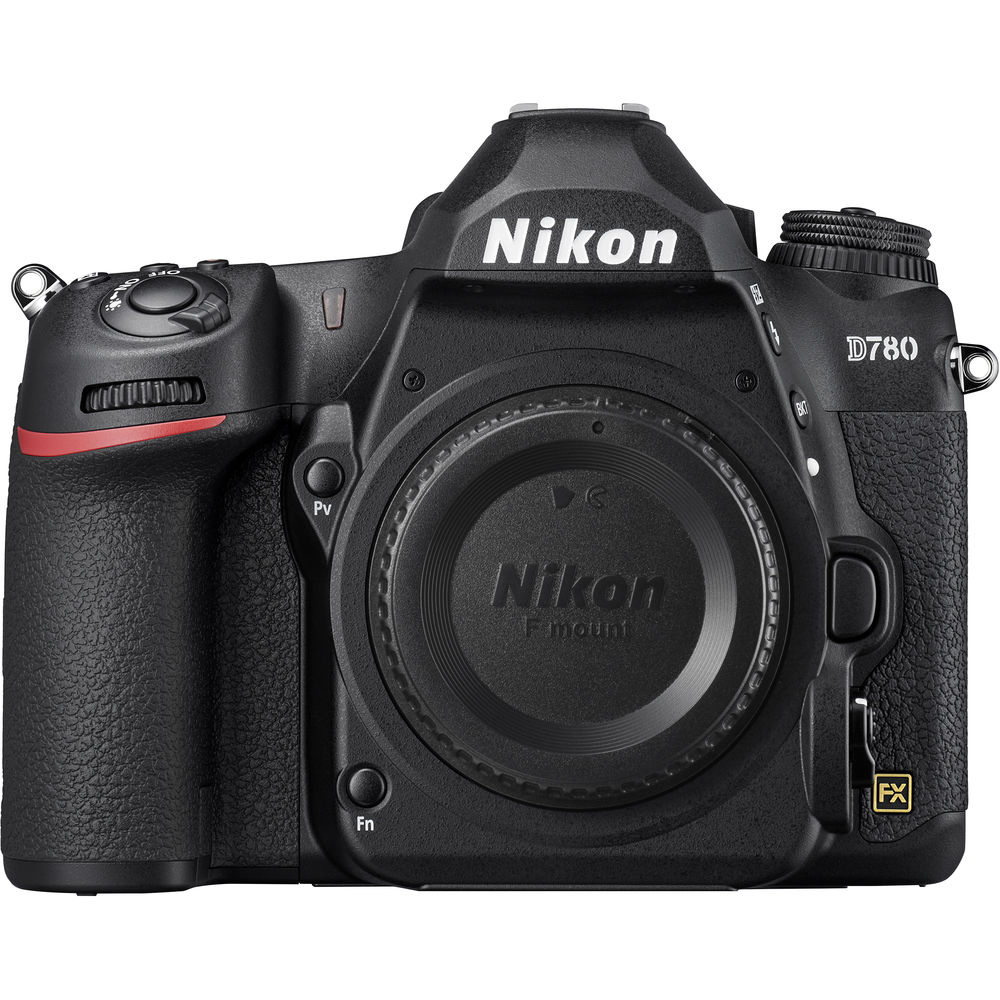
First, you'll want a modern DSLR and a telephoto lens. The more zoom the better. I will be using a 600mm lens on my Nikon D780. Even at this high focal length though, the Sun won't fill the frame. You would need upwards of 1,000mm to see the sun up close. Therefore, you could always use a telescope with your DSLR.
Next, you'll want to purchase some solar filters. These are designed to absorb most of the sun's light, and prevent it from destroying your camera. There are a lot of filters to choose from, but I would recommend going through Thousand Oaks Optical. They make two in particular that should work well. The easiest solution is a threaded filter. This will screw onto the end of your telephoto lens and block the harmful sunlight, while still allowing you to capture beautiful images of the sun and eclipse. You'll need to find out your lens' filter thread size first though. You can either look on the lens' body itself, or Google it. My Tamron 150-600mm lens has a 95mm filter thread, so I purchased the corresponding size from Thousand Oaks Optical. The only downside of threaded filters is that they are a bit tricky to remove during the Total Eclipse. You will need to remove any solar filters during totality that way you can capture the white corona. However, for the Annular Eclipse you can leave the filter attached the entire time. Therefore, if you plan on photographing multiple Total Eclipses, then you may want another filter that's easier to remove. But if you're just trying to photograph this Annular Eclipse, the threaded filter is fine.
My preferred filter option is the Thousand Oaks Optical SolarLite Filter. This is the most versatile filter available for solar eclipse photography. You'll need to determine the outer diameter of your lens or telescope first. I found that my RedCat telescope has a dew shield diameter of 80mm. So I ordered the 74.6mm - 81mm SolarLite filter from Thousand Oaks. This fit over the end of my telescope nicely, but it was a little loose. Thankfully the filter does come with a felt strip, which you can install for a secure fit. The reason I like this filter so much is because I can quickly attach it to my lens / telescope, and quickly remove it. (Unlike a threaded filter) The SolarLite also has a pleasing color balance for the sun, and a solid build-quality. They come in a large variety of sizes, so you should be able to find one to fit your lens / telescope.
Finally, you'll want to protect your eyes as well. While you could buy a pack of those cardboard glasses, I wouldn't recommend it. The eclipse will be a few hours long, so you'll want something more comfortable. I opted for the Eclipser HD sunglasses and they are much nicer! I can easily wear these for the entire duration of the eclipse without any discomfort.
*For those using binoculars, you'll want to purchase a set of filters for the eyepieces. You always need a solar filter at the front of your optics, whether that's a camera lens or binoculars. They do make small cardboard filters, but these are flimsy and can fall off easily. Something like this should be a safer choice.
Photographing the Eclipse
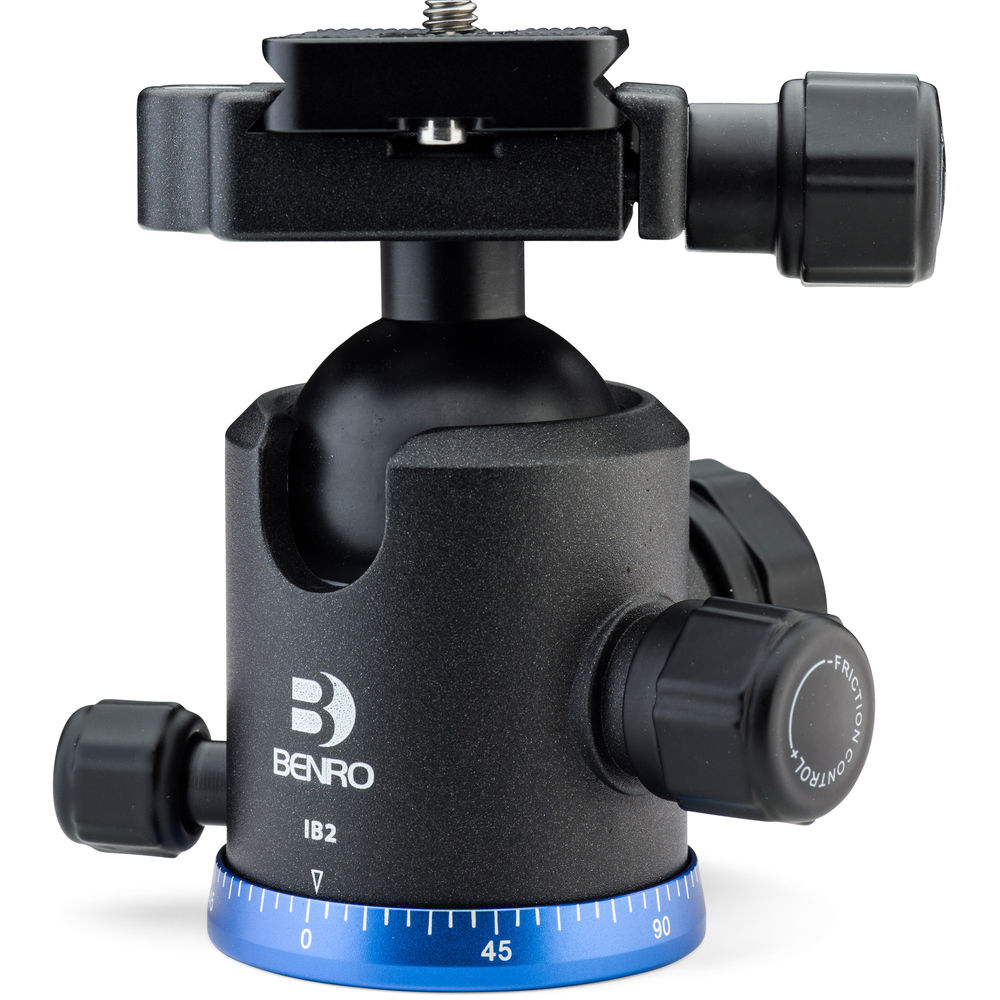
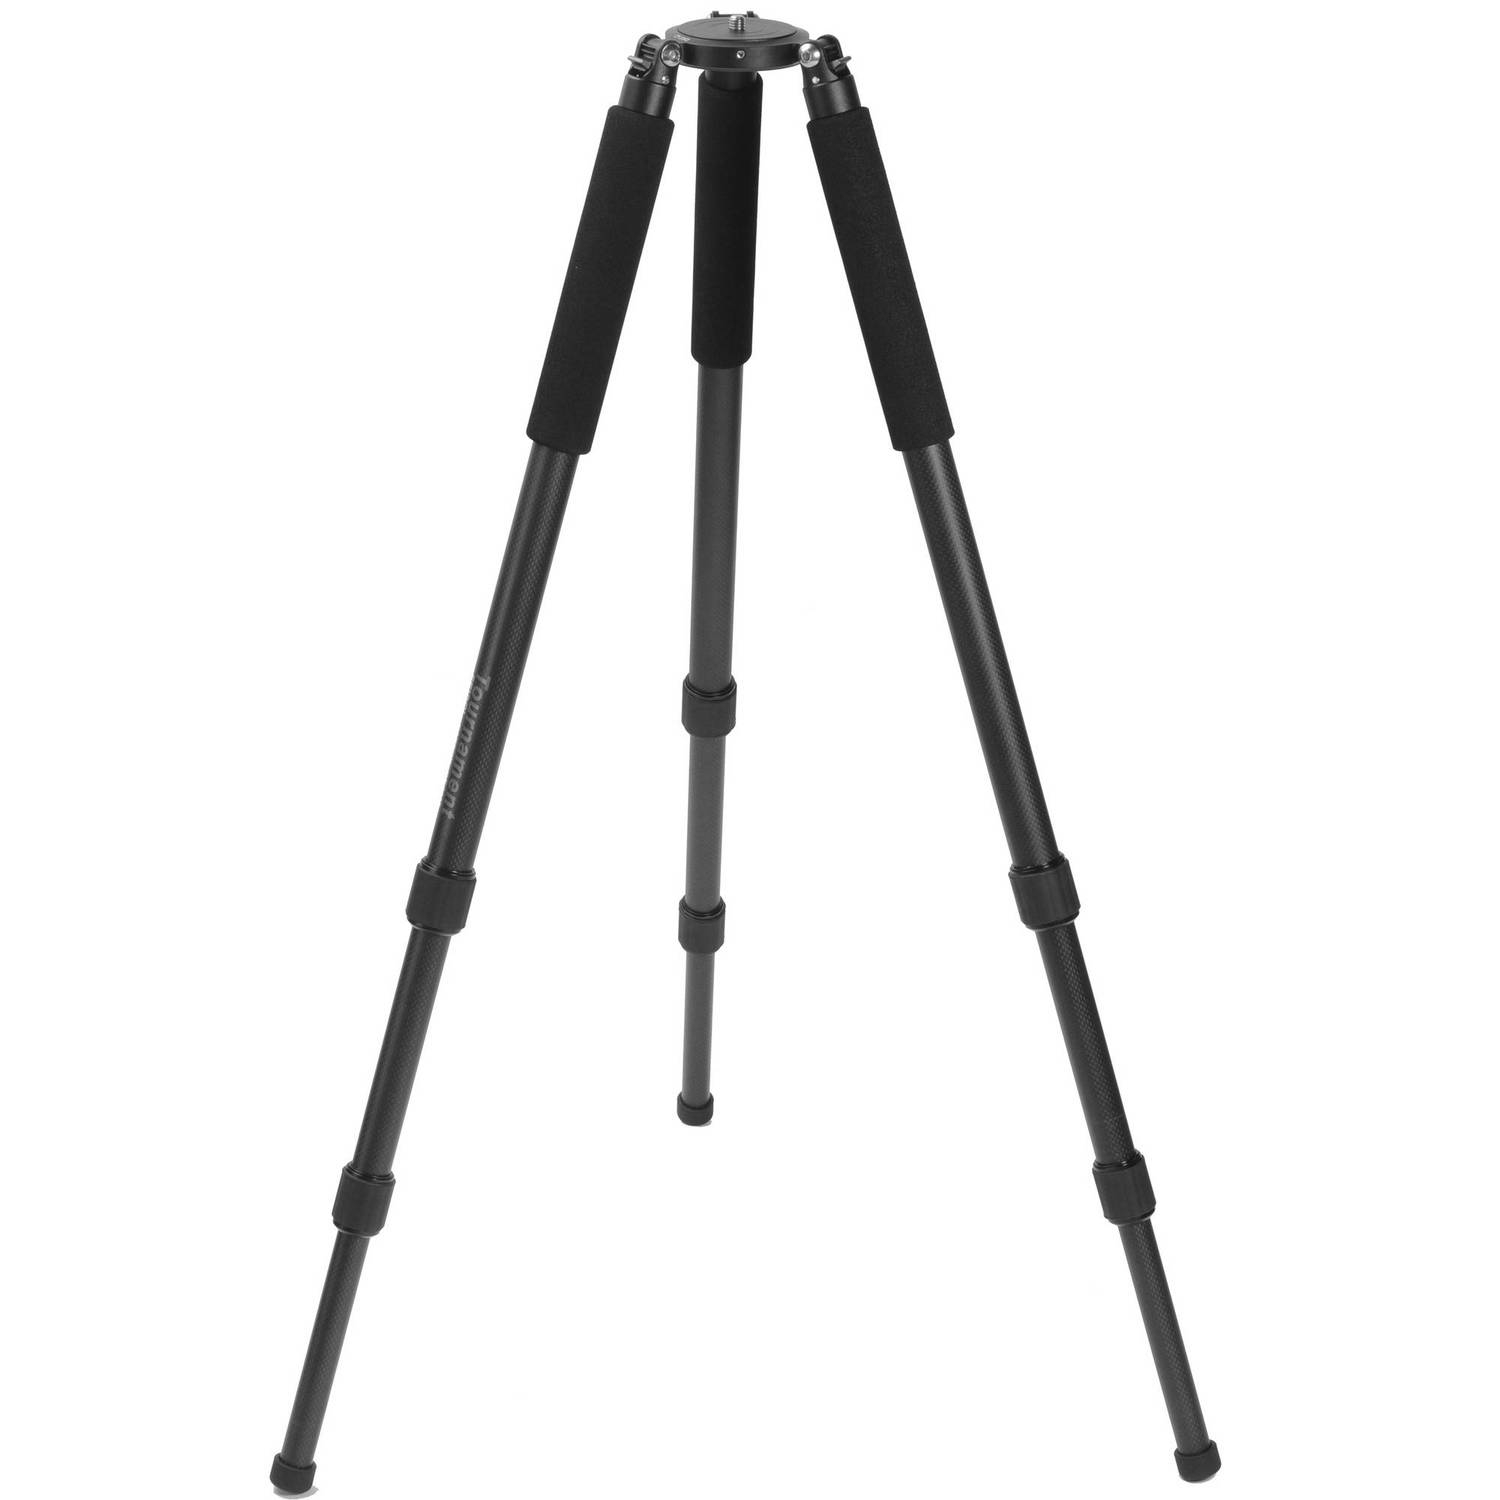
Once you've acquired your solar filter(s) and glasses you can begin practicing for the eclipse. Go out on any sunny day to give it a shot! Start by attaching your solar filter to the lens / telescope. Next, attach your DSLR and telephoto lens to a stable tripod. You can now use the Live View to find the sun overhead. Once you get the sun in the field of view, tighten down the ballhead. Zoom in the lens to the max focal length. Re-center the sun if need be. With the sun centered up, adjust your camera settings.
Put the camera on Manual Mode, this will give you full control over the camera settings. I would start at ISO 100, f/8 and 1/100s. If the sun is too bright, adjust your Shutter Speed. You should see the brightness of the sun changing in real-time on the Live View. If not, you may need to enable "Exposure Preview" or the equivalent setting on your camera. You want the sun to have a deep orange color. Your optimal camera settings will change depending on the filter you purchased, the lens you are using, and your camera. As I show in the video, you just need to play around with the Shutter Speed and ISO until the image looks good.
With the sun properly exposed we can now focus the image. Zoom in with Live View, until you see the edge of the sun clearly. Now slowly turn the focus ring until the sun is as sharp as possible. Turning on Vibration Control can help keep the image stable.
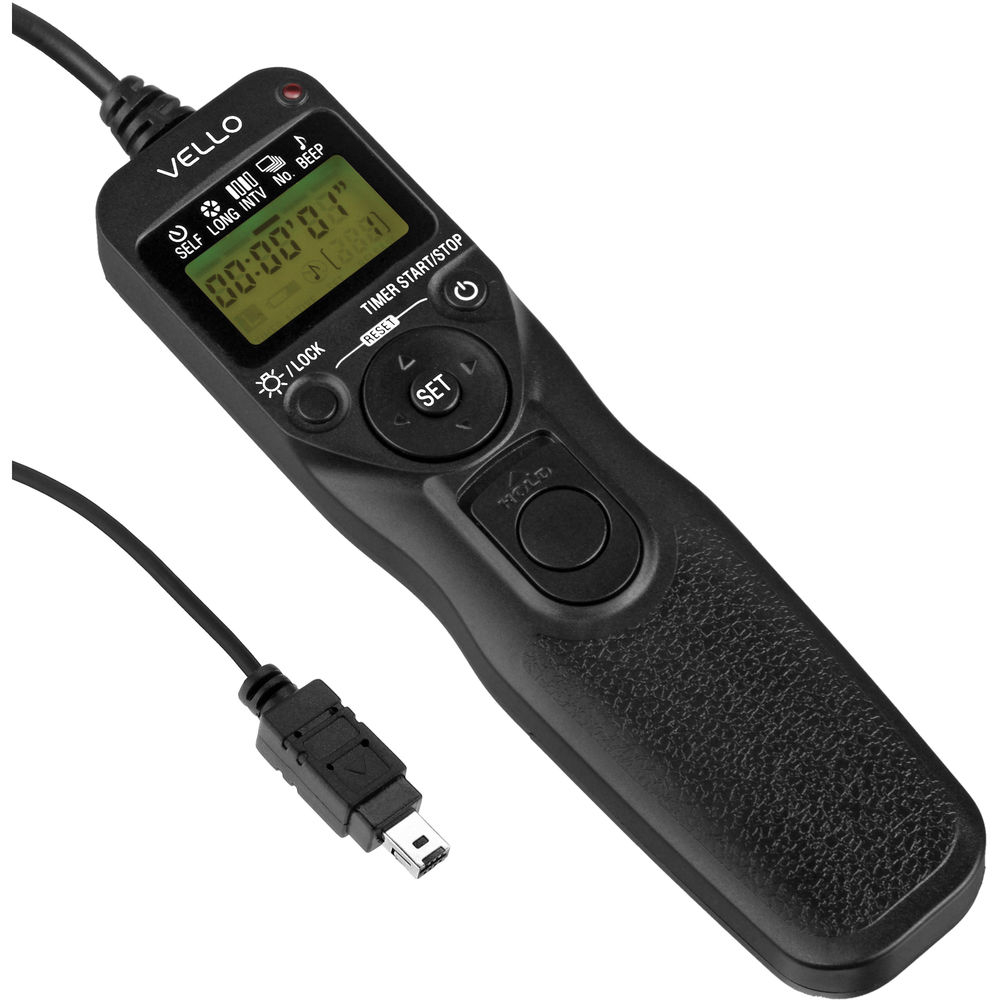
At this point the sun should be centered up, sharp, and properly exposed. You can now begin taking photos! I recommend using a wired / wireless remote to trigger the shutter. If you don't have a remote, put the camera on a Timer Delay mode. This will give the camera few seconds to settle down after you press the shutter button.
Practice these steps as many times as you need to, until you're comfortable with solar photography. The process will be the same for the Annular Eclipse. In fact, we can use the same camera settings for the Annular Eclipse. To be clear, you can leave your solar filter on for the duration of the Annular Eclipse. However, if you were photographing the Total Eclipse you would want to take off the filter during totality.
Incorporating a Star Tracker
If you've been following along with me today, you'll have noticed a problem when photographing the sun. It's constantly moving! Even if you get the sun centered perfectly in the frame, within a few minutes it will be gone. This can get pretty annoying. Every few minutes you have to loosen the ballhead, find the sun, and center it back up. This is especially troublesome during the eclipse. We should be enjoying the show, not fiddling with the camera.
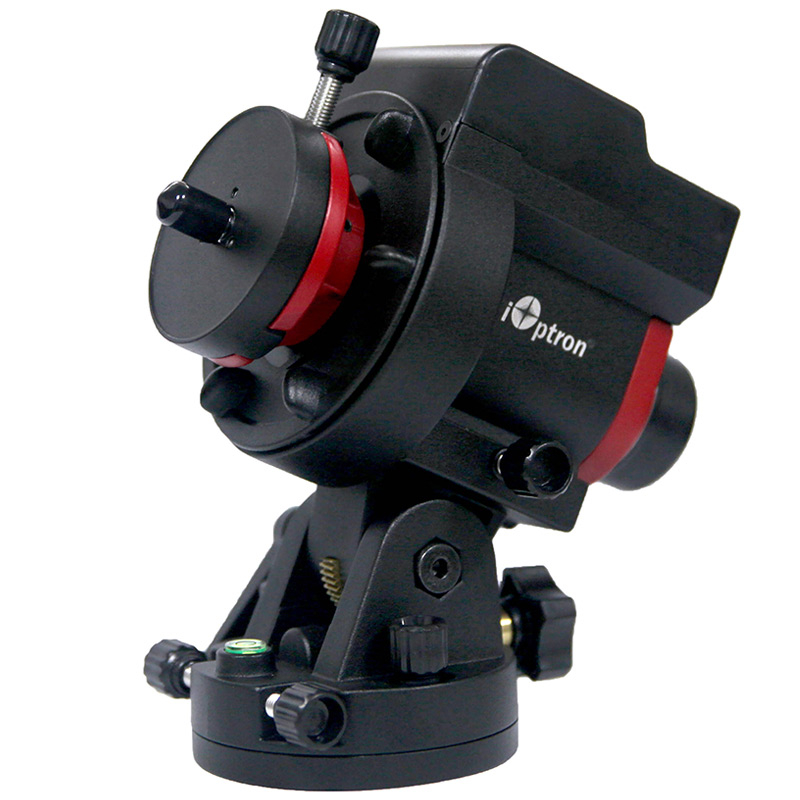
This is why I recommend using a star tracker to help photograph the eclipse. A star tracker will keep the sun centered in the frame for the duration of the eclipse. That's just one less thing for you to worry about.
I still recommend the iOptron SkyGuider Pro, even though it is 6 years old at this point. It will do a fine job for the solar eclipse. Regardless of the mount or tracker you use, you'll need to start with a Polar Alignment. This will align the tracker to the rotation of the earth, allowing you to photograph distant nebulae and galaxies, or the sun. The idea is that once the tracker is aimed up near Polaris, it will slowly move your camera with the speed of the stars, including our sun. The more accurate your polar alignment, the better this will work.
The easiest way to do a daytime polar alignment is with Polar Scope Align Pro, an iPhone / iPad exclusive app. You'll need to purchase the app to unlock the daytime alignment feature. At that point, you can place your iPhone / iPad on top of the tracker. Assuming the tracker is facing North, and you've dialed your latitude into the tracker's base, the app should have a reticle on screen. You can then use the altitude and azimuth adjustment screws on the star tracker's base to get an accurate polar alignment.
If you don't have an Apple device, then you'll need to work a little harder. I would actually recommend going out the night prior to the eclipse. At the very least, identify Polaris and the Big Dipper. Note how it corresponds to the landmarks around you, this information will be important in the morning. If possible, do your alignment right now! With all the stars visible, it will be much easier. You could leave your tripod and tracker here overnight, and begin photographing the eclipse in the morning. I realize this won't be feasible for everyone though.
Let's say you got an accurate polar alignment the night before the eclipse, but you can't leave the gear out. You could always put some tape, or even rocks, around the tripod feet. This will mark the accurate tripod position for tomorrow morning. Then, you can come set everything back up during the daytime and the alignment should be pretty accurate.
Lastly, you could just do a rough alignment during the day. In this scenario it comes down to 2 factors. Is your latitude on the base correct? Is the tracker aimed at True North? If the answer is Yes to both of those questions, you've done a rough polar alignment. Keep in mind we are aligning to True North, not magnetic north.
Assuming you have a decent polar alignment you can attach your camera gear to the star tracker. Next, turn on the tracker and set it to the solar tracking speed. It will now begin slowly moving your camera with the speed of the sun. Once you get the sun centered in your camera's field of view, it should stay there for the duration of the eclipse. However, if the polar alignment wasn't perfect the sun may slowly drift from the center. The rate at which it moves will depend on how bad your alignment is.
Featured Products For This Video
Shop for the products you need/found in this video

Comments
Comment on this video
Make a Donation
Support this channel with a recurring or one-time donation


TerriR
Aug 22, 2023