Video OnTheGo
Simply scan this QR Code with your smart phone
to take this video with you on the go.
 Got it!
Intro to Astro - Post Processing Workflow, Part-4 of 4
Let's do this!

Peter Zelinka
Additional Information
Related links, images and relevant information involving this howtube video.
Click here to download some of the RAW photos I use in this video. Now you can practice your editing skills along with me!
For this workflow, you will need to have Adobe Bridge and Camera RAW installed. You should be able to get both of them for free, with the Adobe Creative Cloud app. Click here to download the software.
Adobe Bridge
I always start off my workflow in Bridge. From here, I can easily find the photos I want to edit. Next, I'll select all the photos and right click on any thumbnail. This should bring up a context menu, from which I can choose "Open in Camera RAW..."
Adobe Camera RAW
Camera RAW has a lot of features, but we are only going to be using a handful of them in this workflow. Over on the right side of the screen there are multiple tabs: Basic, Curve, Detail, Color Mixer, Optics, etc... In this video, we will just focus on Basic, Detail, and Optics.
In the Basic tab, you've got complete control over the brightness, contrast, white balance, and saturation of the photo. I recommend starting off with the Exposure slider. This will make the image brighter or darker. Because my astro images tend to be underexposed, I can quickly brighten them up with the Exposure slider.
Once my exposures look bright enough, I can focus on the color cast of the photo. Since the RAW images tend to be de-saturated, we should start by increasing the Saturation slider to 100. This will make the image look goofy, but that's okay. I really want to see what colors are in the image. Now, we can go back up to the White Balance up top and adjust the Temperature and Tint sliders. Alternatively, you could use the drop-down menu to select from one of the preset White Balances (Auto, Fluorescent, Daylight, etc...)
When you've got a nice color balance in the photo, lower the Saturation slider back down to a reasonable amount. Anywhere from 20 - 50 should work well.
Detail / Noise Reduction
Let's continue down to the "Detail" tab on the right. This gives us 3 new sliders - Sharpening, Noise Reduction, and Color Noise Reduction. The Sharpening, by default, is set to 40. However, this increases the grain in our astro images. I recommend you put the Sharpening slider to 0. Next, go down to the Noise Reduction slider and increase it to 10 - 20. This should smooth out the grain in the photo. If you still see some color noise in the photo, then increase the Color Noise Slider higher than the default of 25.
Optics / Lens Corrections
The last thing we need to do is fix any vignette in the image. Under the "Optics" tab, you should see a checkbox for "Use Profile Corrections". When you check this box, it should automatically find your camera lens and fix the distortion and vignette. If it does not, then you'll need to click where it says "Make: None". Find the manufacturer of your lens from the drop down list. It should now fill in the rest of the information.
By default, the Distortion and Vignette sliders will be 100. I highly recommend you lower the Distortion slider to 0. Otherwise, you may encounter artifacts later in the workflow.
Save
If you're happy with the image, we can now save it as a JPEG. You can right-click on the thumbnail of the photo, and choose "Save Image - Save as JPEG". Camera RAW will now save a JPEG to the same directory as your RAW photo.
Photoshop
Your image may require some more advanced editing, which you can do in Photoshop. Photoshop does cost $10 a month, but it's a good investment for photography and astrophotography editing. I use it to fix blemishes in my images, adjust the colors, change the contrast, blend photos together, and more! I cover this more in my Deep Space Course here on Howtube.
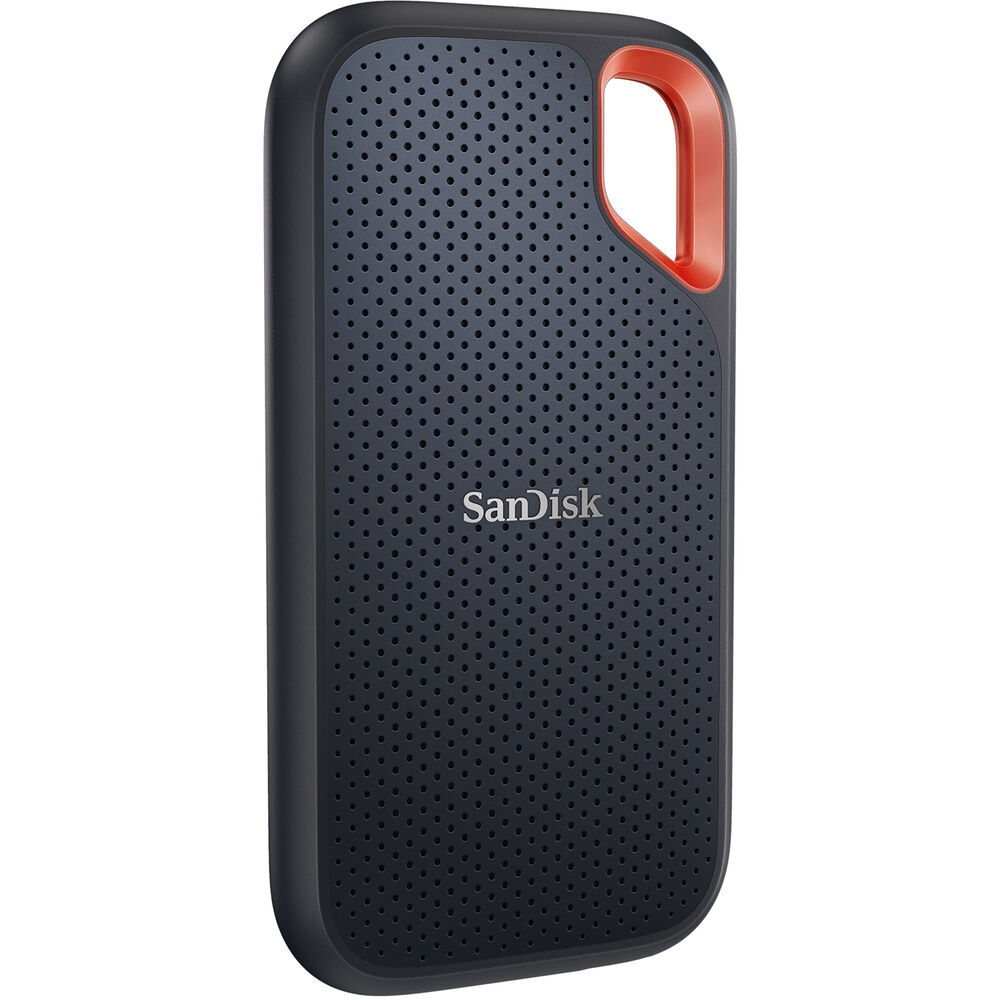
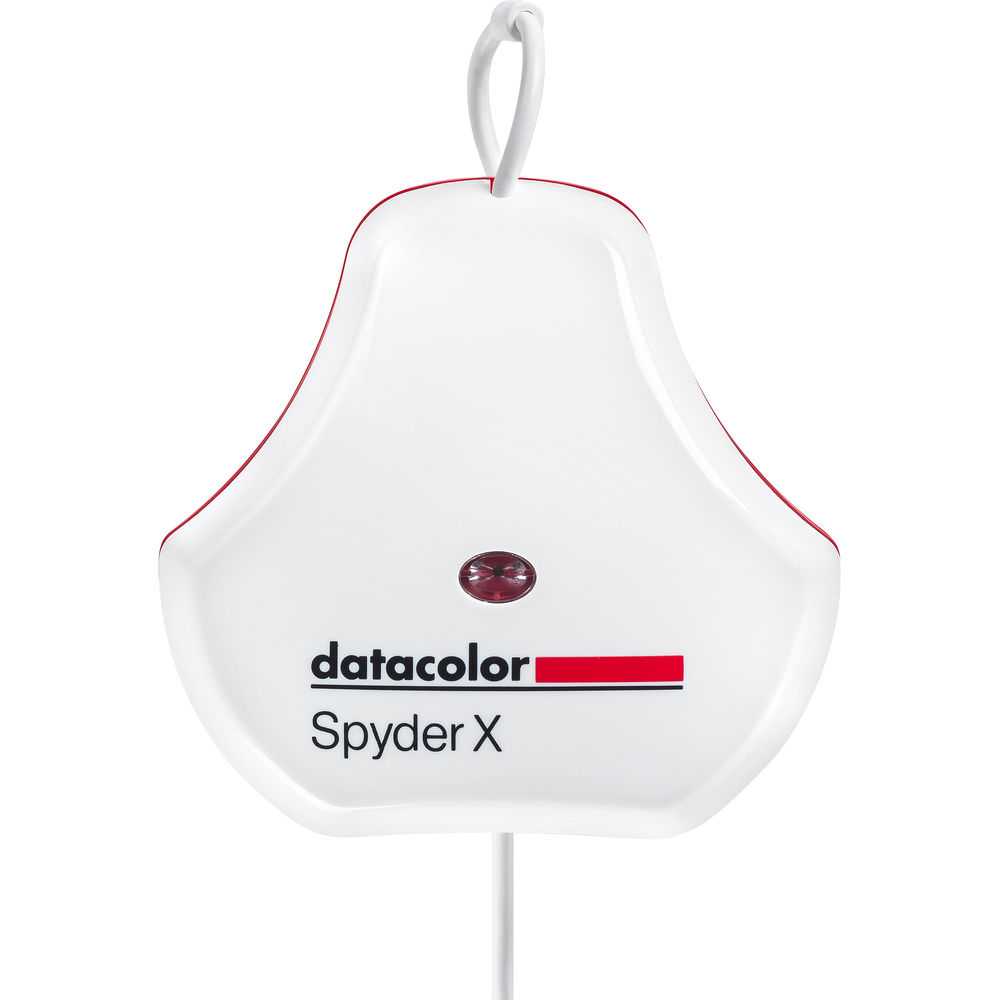
Featured Products For This Video
Shop for the products you need/found in this video


Comments
Comment on this video
Make a Donation
Support this channel with a recurring or one-time donation

