Video OnTheGo
Simply scan this QR Code with your smart phone
to take this video with you on the go.
 Got it!
Intro to Astro - Camera Gear, Pt 2 of 4
I hope you're enjoying the free course so far!

Peter Zelinka
Featured Products For This Video
Shop for the products you need/found in this video


Additional Information
Related links, images and relevant information involving this howtube video.
As long as you've got a DSLR, lens, and tripod, you can do astrophotography! Throughout this video though, I'll explain how you can most effectively upgrade your current equipment.
Click the "Featured Products" tab down below to easily find all of the products I'm using in this video.
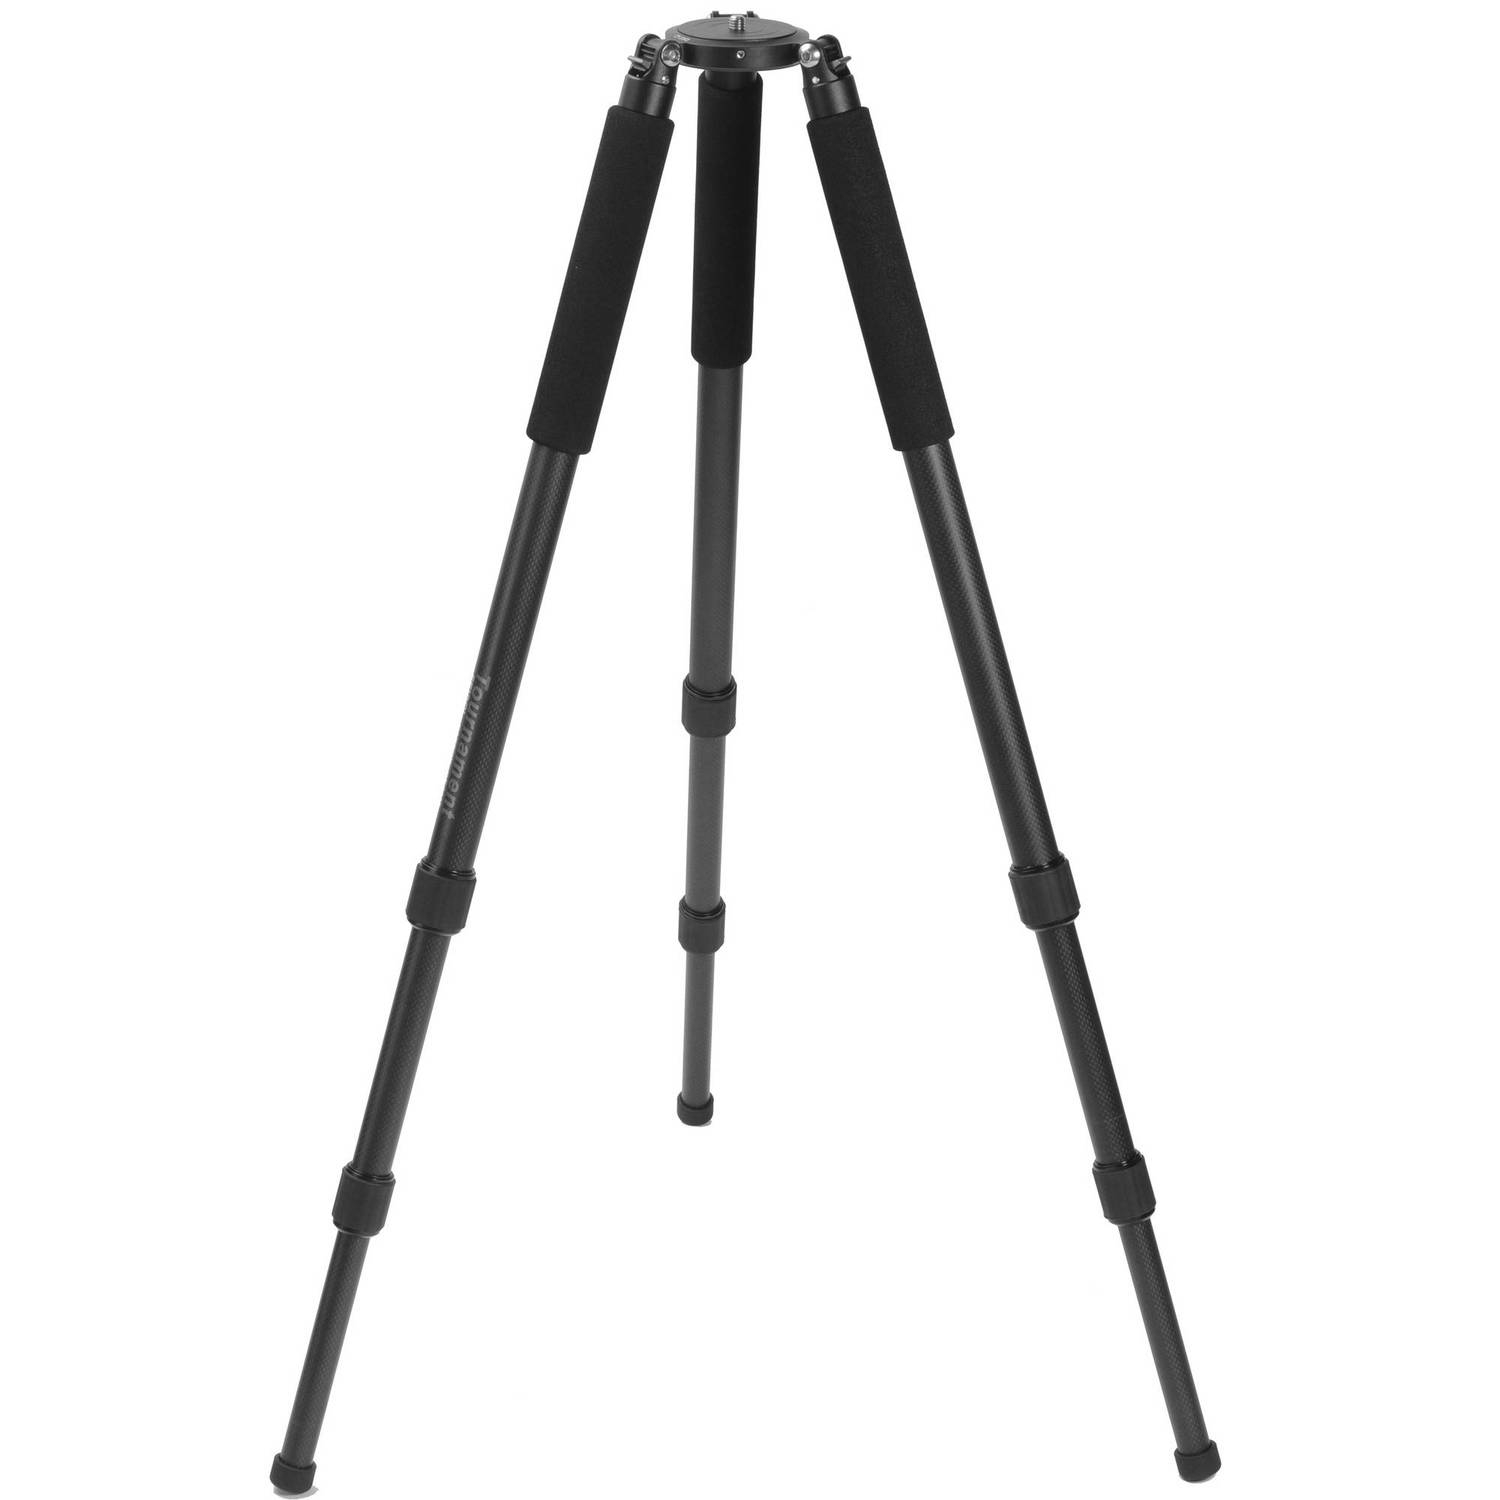
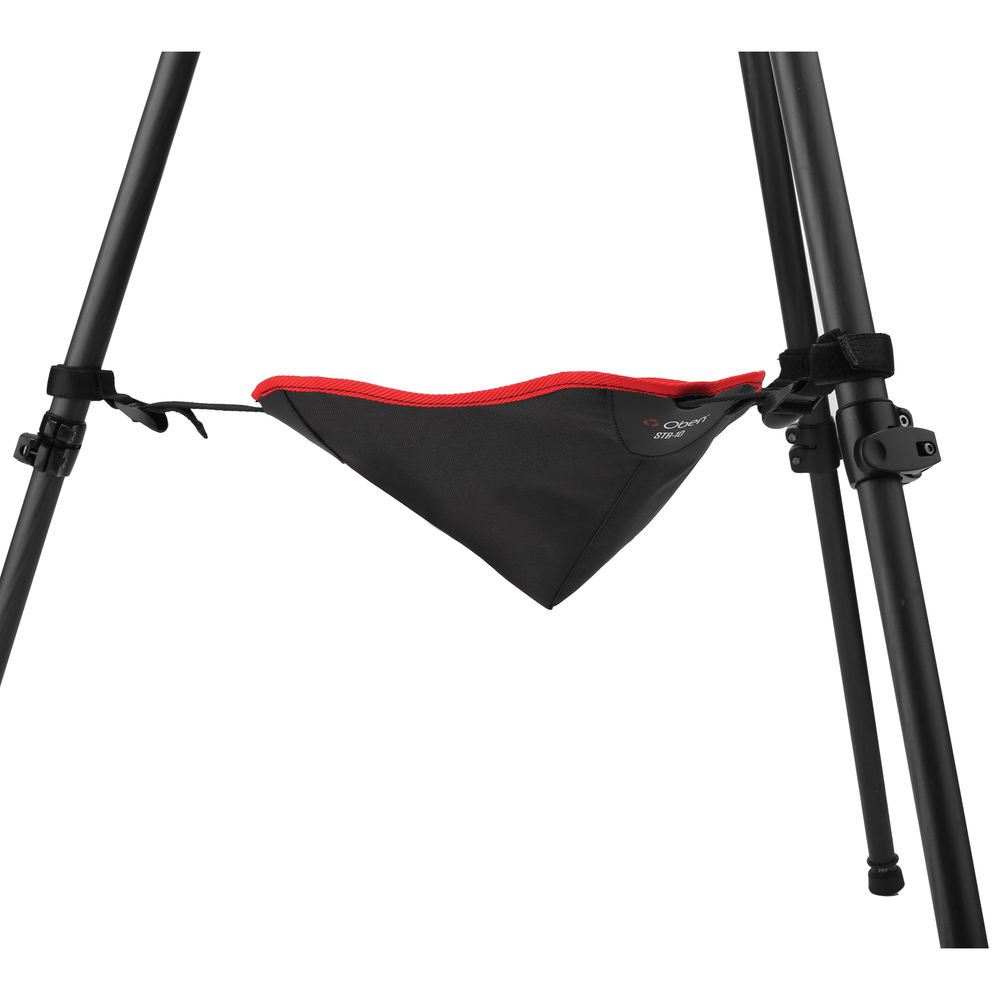
Tripod
A good tripod should be one of your first investments. A bad tripod will cause lots of problems for astro, and it may even destroy your camera gear, if it tips over on accident. I've been using the Feisol CT-3442 tripod for the past few years, and it's done a great job! It has 3 leg segments, which reaches close to 6 feet tall when fully extended. Plus, there's no center column. Most tripods have center columns and these cause a lot of problems for astro. For this one reason alone, I highly recommend the Feisol.
The Feisol CT-3442 retails for around $450. That may seem very expensive for a tripod, but it's less than half of the popular Gitzo brand of tripods. I know when I first got into photography, I had sticker shock when I was looking at tripods. However, if you buy a good tripod first, it will last you for many years and do a great job. Since a tripod is the literal foundation of everything we do a night, it makes sense to start off with a good one.
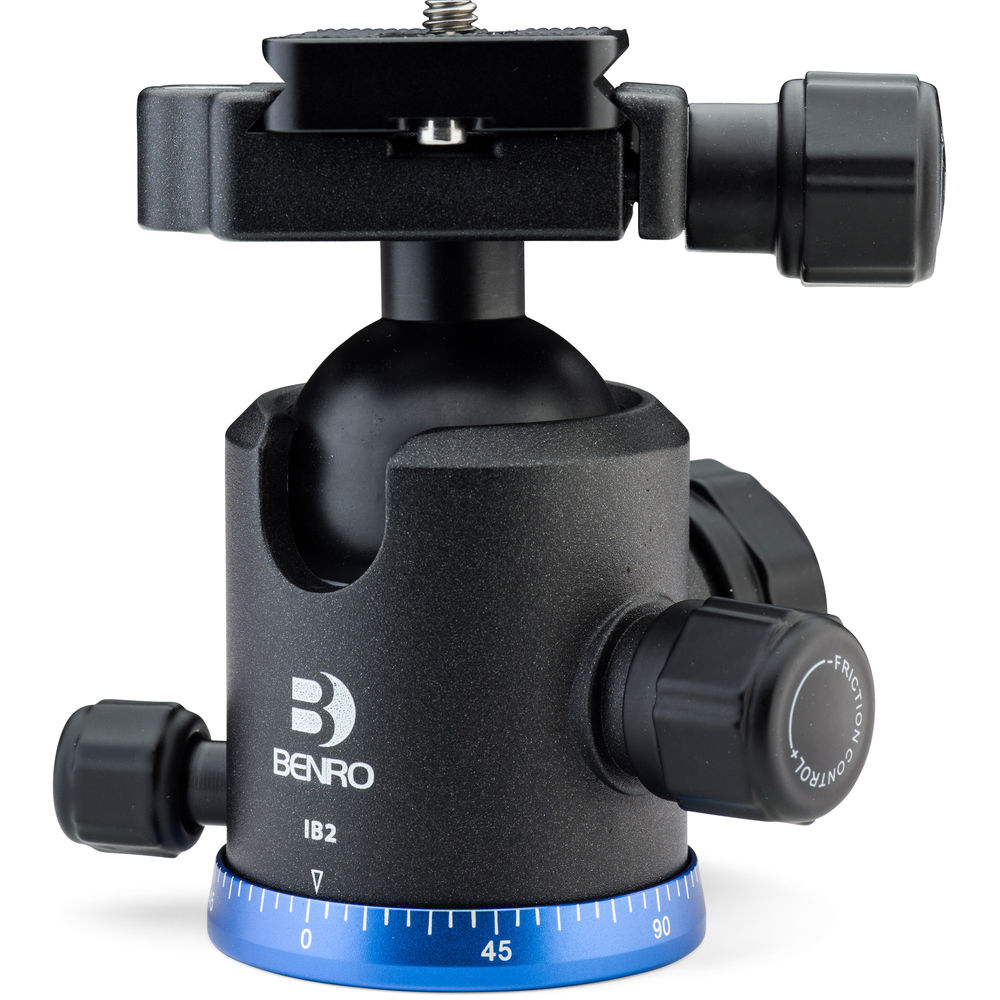
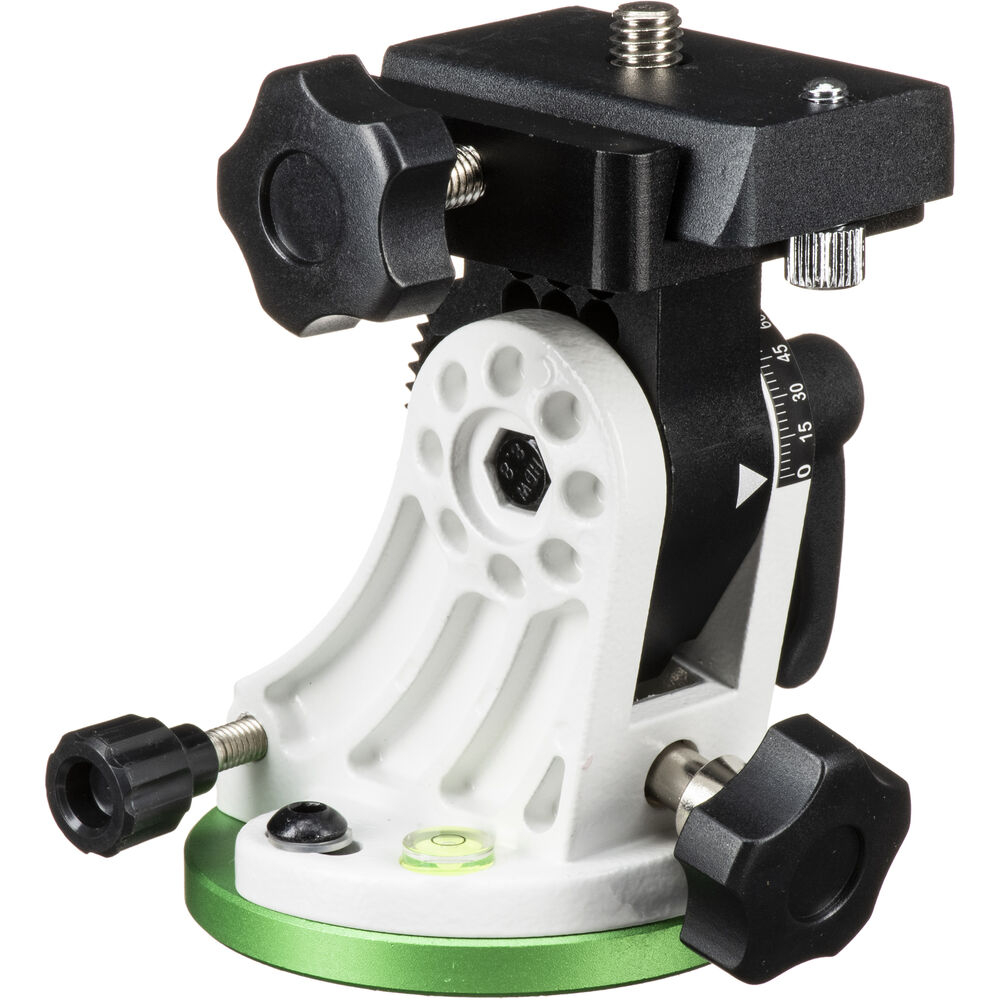
Ballhead
As if you haven't spend enough money on the tripod, you'll also need to purchase a ballhead. This will allow you to aim your camera wherever you want in the night sky. You can get ballheads for $20 - $500 . In my experience, the Benro IB2 is one of the best ballheads out there, and it's reasonably priced at ~$125. There's really no need to buy anything more expensive than this one. (I also have a $400 ballhead, and it's not really any better than the Benro...)
Camera
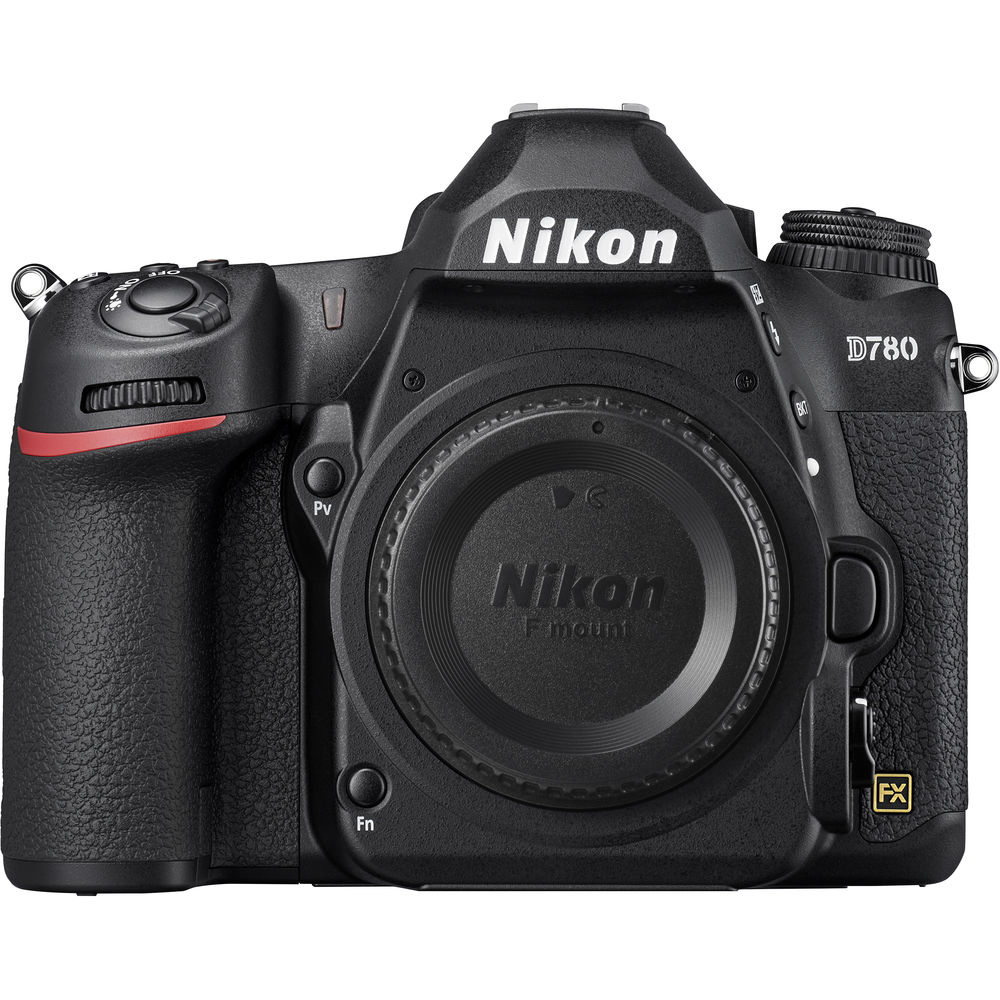
I'm not going to get into the Canon / Sony / Nikon battle in this video. Most people have already picked a camera manufacturer, and will stick with that brand for better or worse. With that said, I've used Nikon cameras for the past 10 years, and I really like them. Most recently, I purchased a Nikon D780 and it is one of the best DSLRs for astrophotography. The sensor has no serious low-light problems (amp glow, banding, etc...) and it has extended shutter speeds. That means I can quickly scroll past 30", and shoot maybe a 60", 240" or even 600" exposure! On virtually every other camera body available, you are limited to just 30" exposures. If you want to shoot longer than that, you must put the camera on Bulb mode and use an external remote to control the camera's shutter speed.
If you are a Nikon shooter, and are looking to upgrade, I highly recommend the D780. It will do a fantastic job for astro, macro, wildlife, portraits, video, really anything!
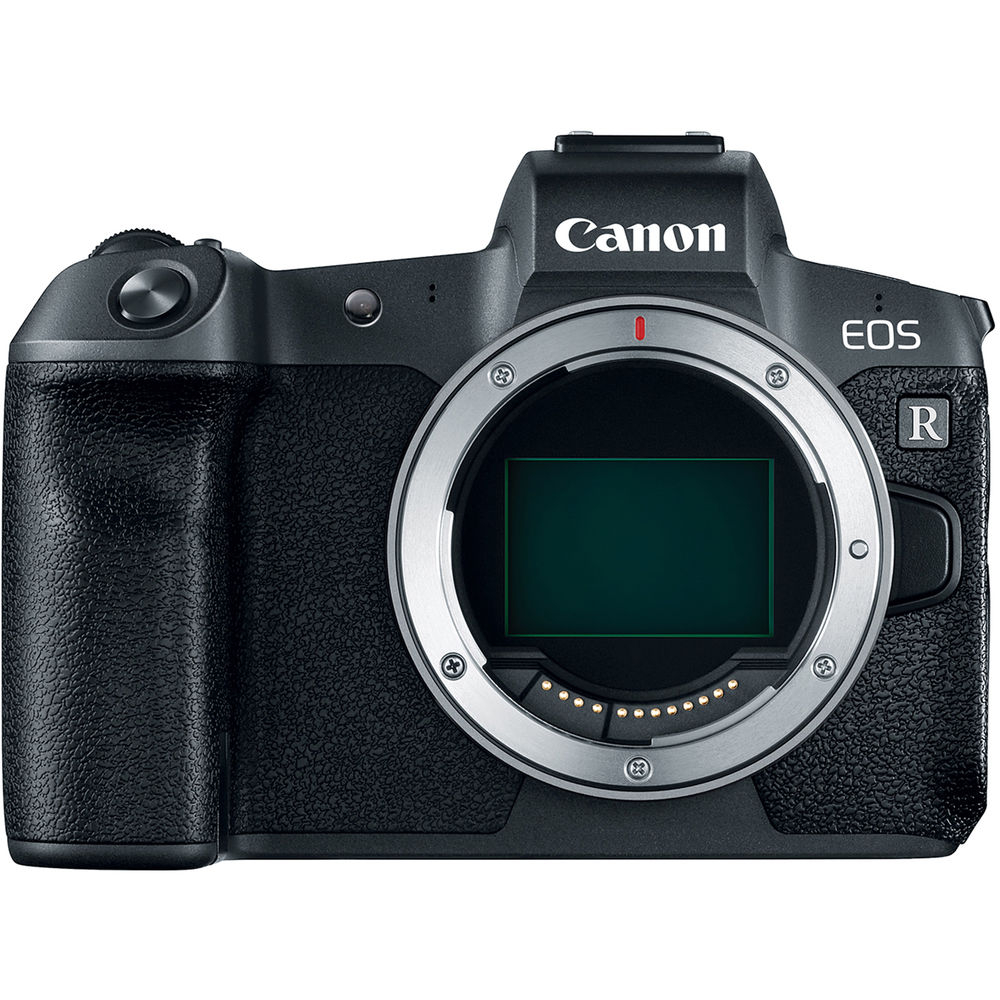
For Canon shooters, I recommend the EOS R. This is a mirrorless camera that came out a few years ago, but it produced spectacular low-light images. Out of all the Canon cameras I've seen, this was one of the best for astrophotography.
The Sony cameras all have similar performance in low light, in my experience. They're pretty good, although the sensors can get really hot in the summer (that will cause more grain). Regardless of the model you have, it should work fine.
Sensor Size
Before you buy any new camera, it's important to understand how the sensor size will affect your images. Generally, camera sensors come in 2 different sizes - Full Frame and Crop Sensor (APS - C). The Full Frame sensors have a length / width of 36mm x 24mm. The Crop Sensors are usually around 23.5mm x 15.6mm. Since the Crop Sensors are physically smaller, and have less surface area to gather light, they don't do as well in low-light scenarios. Therefore, a Full Frame sensor is the recommended choice for Milky Way and Star Trails.
In addition to low-light performance, the sensor size will change the Field of View in your images. This has a big impact on astrophotography. Generally, the APS-C cameras have a magnification of 1.5x for any lens. That means if you put a 100mm lens on a crop-sensor camera, the Field of View will actually be smaller, by a factor of 1.5x. In other words, that 100mm lens will look more like a 150mm lens! This is great for deep space astro! Now you can get 900mm of zoom, if you have a crop-sensor camera and a 600mm lens! (600mm x 1.5 = 900mm)
However, there is a catch with this magnification. If you want to capture wide-angle Milky Way photos, you'll need about 14mm for the best results. If you put a 14mm lens on a crop-sensor camera though, it will effectively be 21mm (14mm x 1.5 = 21mm). Therefore, you'd want to purchase an even wider lens, around 10-11mm so you can get wide enough for your Milky Way shots.
Sensor Problems
Most cameras are built for day-time photography, where there's plenty of light. They aren't really designed for low-light shooting, and so we can run into some problems at night. Most cameras will have some noticeable problems when photographing the night sky. For example, my Nikon D750 had an awful purple glow at the bottom of the frame. The only way to fix it was to shoot longer exposures, and capture more light.
That's the secret to capturing amazing astrophotography images - light. If you only shoot 20-30 second exposures, you'll never capture enough light for the DSLR. It needs much more than that to produce a clean, beautiful photo. Therefore, I shoot 4 minute long exposures at night! When I capture 4 minutes worth of light, it drastically improves my image quality. I have minimal noise / grain, no purple glow, and the images retain beautiful details and color.
However, if we try to shoot 4 minute photos, the stars will blur out. That's fine if you want to capture a Star Trails photo, but it won't work for Milky Way or Deep Space Astro. This brings us to star trackers...
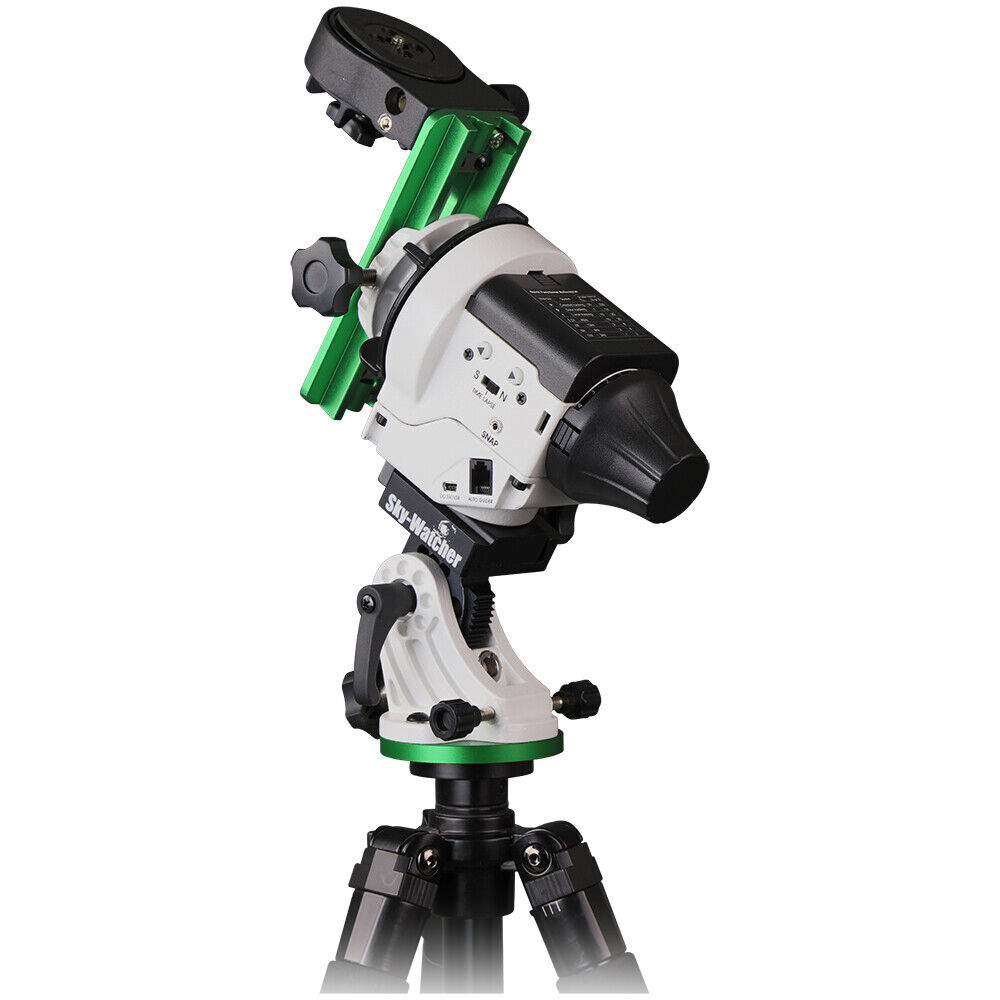
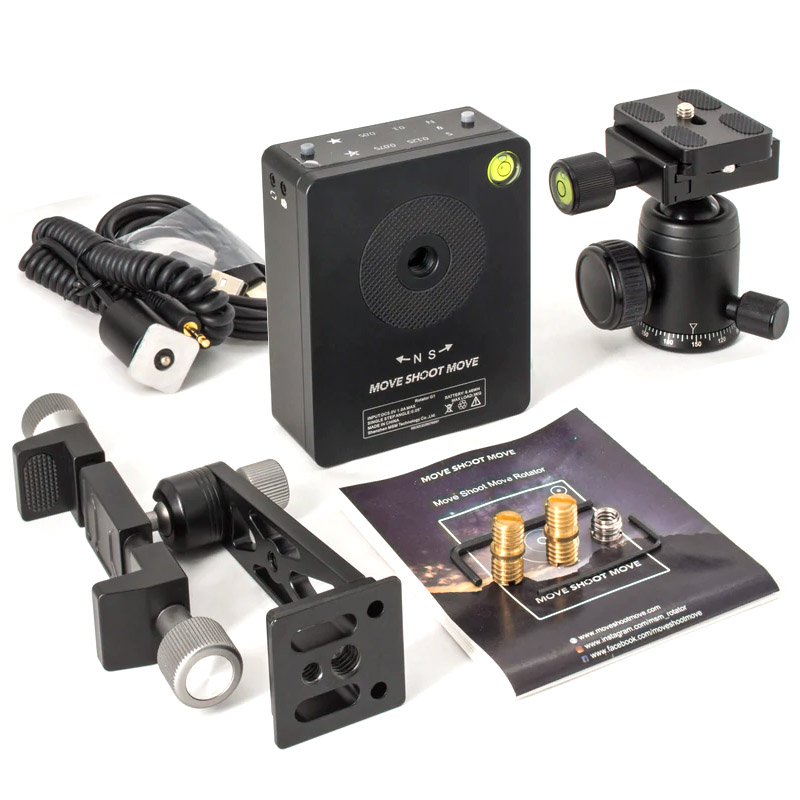
Star Trackers
A star tracker is actually a very simple device. First, aim it up towards Polaris, the North Star. That's roughly the spot in the sky where all the stars appear to rotate around. Next, attach your camera gear to the star tracker. Turn on the star tracker. Get a nice composition with your camera. Begin shooting! That's really all there is to it! Although, it does take a few nights of practice to get the hang of.
Anyway, a star tracker will move your camera very slowly with the speed of the stars. This slow motion will cancel-out the motion of the stars. Rather than shooting 20 second exposures, you can now shoot 4 minutes and still have sharp stars! Keep in mind, since the camera is following the stars, the foreground will blur out.
I cover all of this extensively in my Star Tracker Courses.
Once you've got some experience doing astrophotography with your camera, lens, and tripod, I'd recommend looking into star trackers.
Lenses
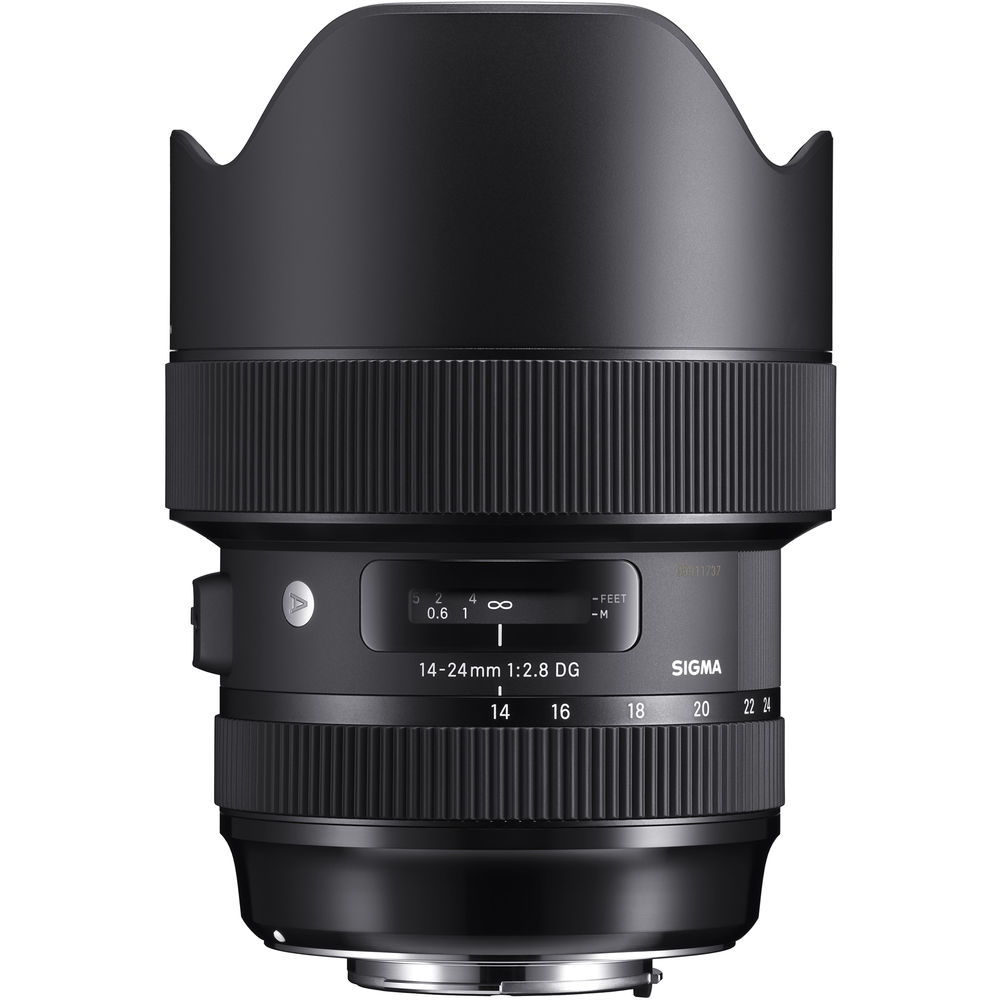
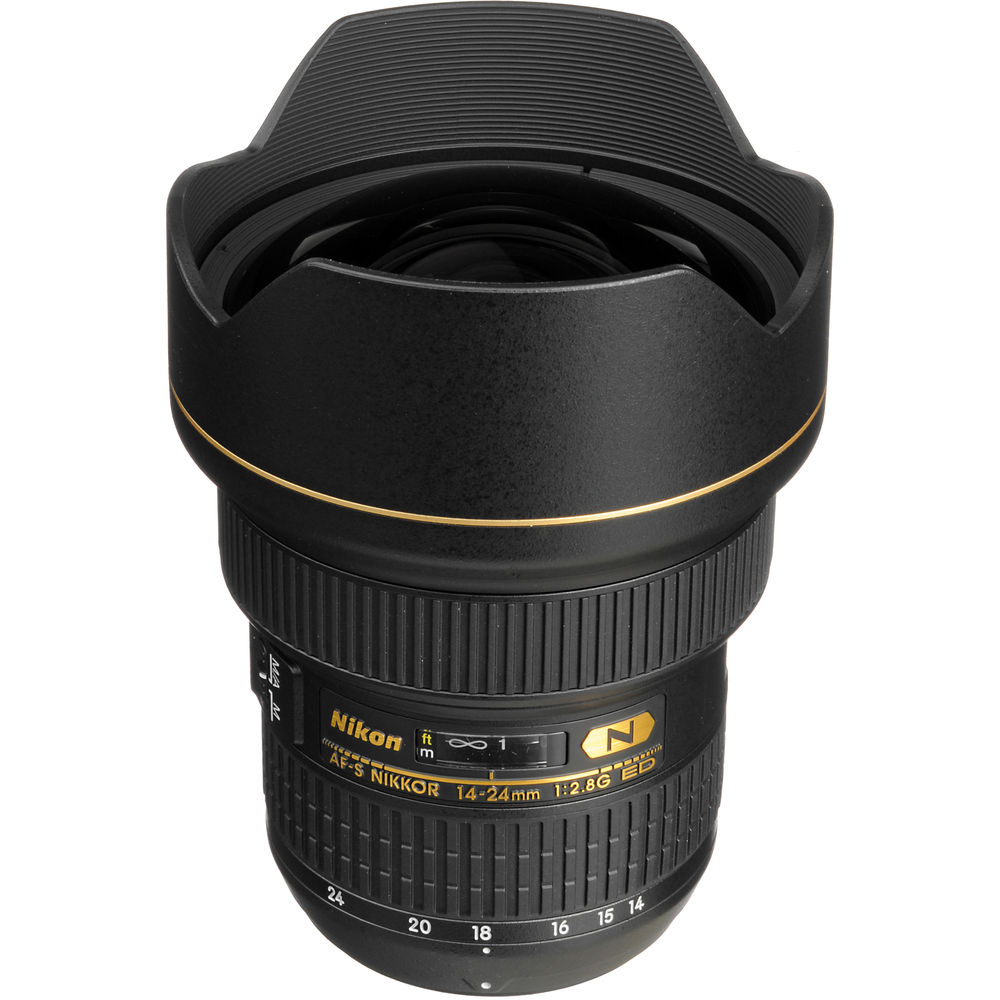
There are thousands of camera lenses available, but most astrophotographers only use a handful of them. For Milky Way and Star Trails I prefer the Nikon 14-24mm lens. It does a fantastic job for nightscape images, but it's also very large, heavy, and expensive. Another good option is the Sigma 14-24mm. It's quite a bit cheaper than the Nikon, but about the same size and weight.
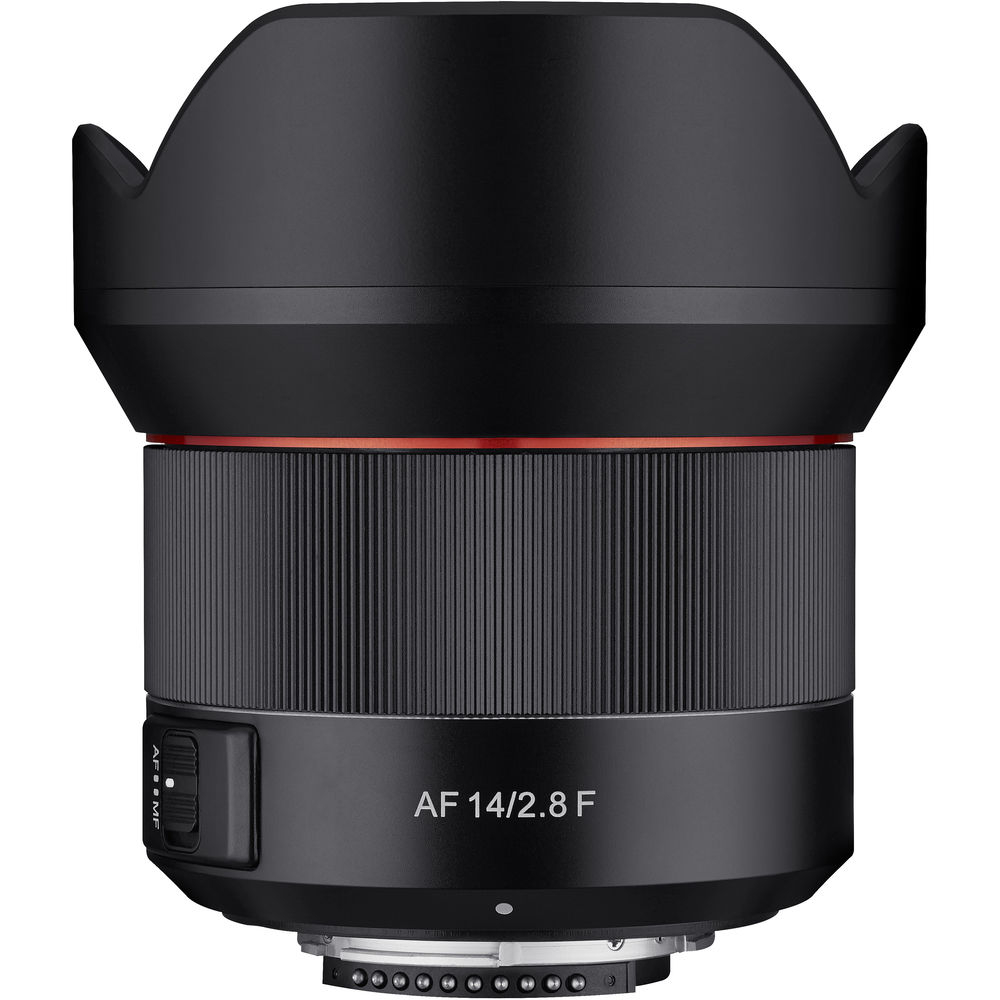
If you want a cheaper wide-angle lens, then the Rokinon 14mm is a decent choice. I used this lens for a few years and got some nice photos with it. However, it is a cheap lens ($350). As the old saying goes "you get what you pay for". Many people who buy this lens get a bad copy, with terrible looking stars. Therefore, you need to get lucky and hope you get a good copy of the lens.
Beyond that, there's lots of other wide-angle choices. Just remember, I recommend about 14mm for Full Frame cameras. If you are using a Crop-Sensor camera, you'll want 8 - 11mm instead. With the 1.5x crop factor applied, this will be fairly close to 14mm.
Another great focal length for astro is 85mm - 150mm. This "wide field" view will allow you to capture portions of the Milky Way galaxy. It can be a really fun focal length to play around with at night. However, you will need a star tracker once you get above 50mm. Otherwise, you'll be limited to 1 - 4 second exposures before you get star trails!
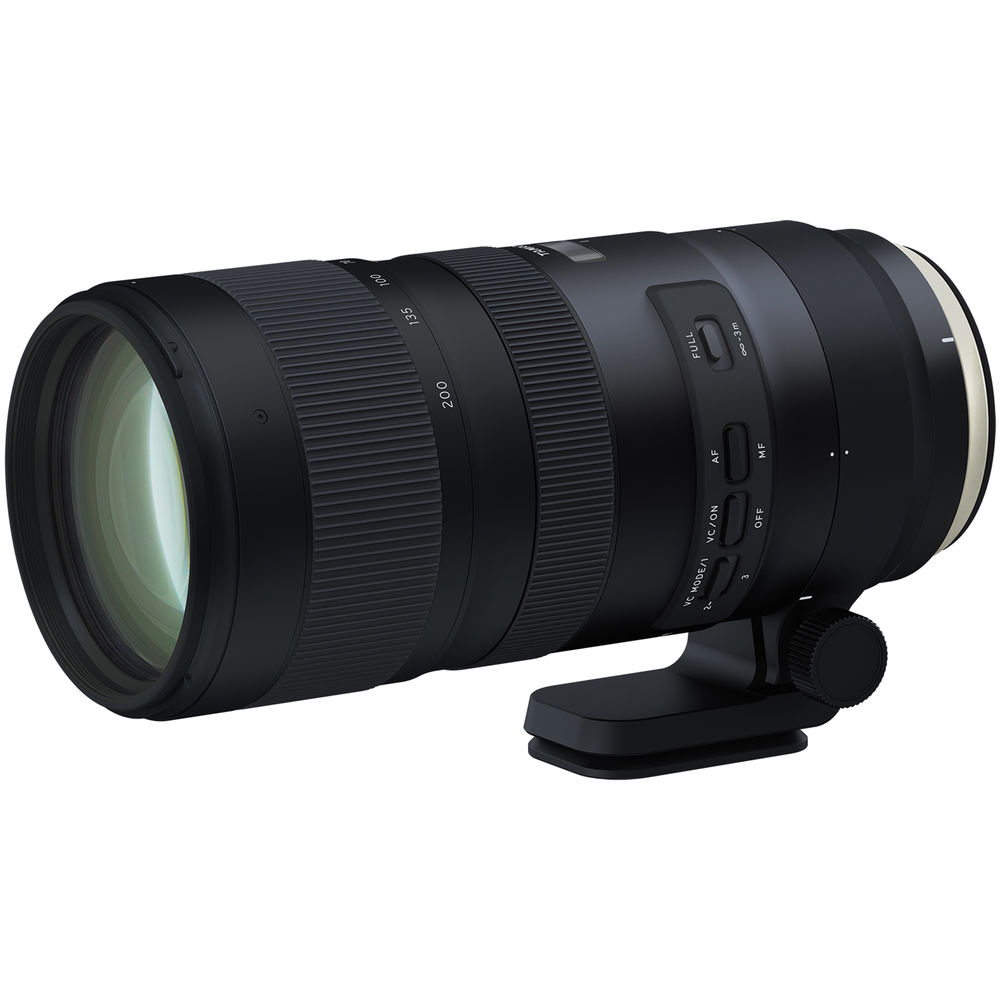
Finally, we have the super telephoto range: 200mm - 600mm. Lenses in this category can get very expensive, even upwards of $10,000 ! You don't need to spend nearly that much money though. I recommend the Tamron 150-600mm lens. It is great for wildlife, landscapes, and astrophotography. It's also fairly light and portable. You can get the latest Tamron 150-600mm G2 lens for just about $1,400.
Accessories
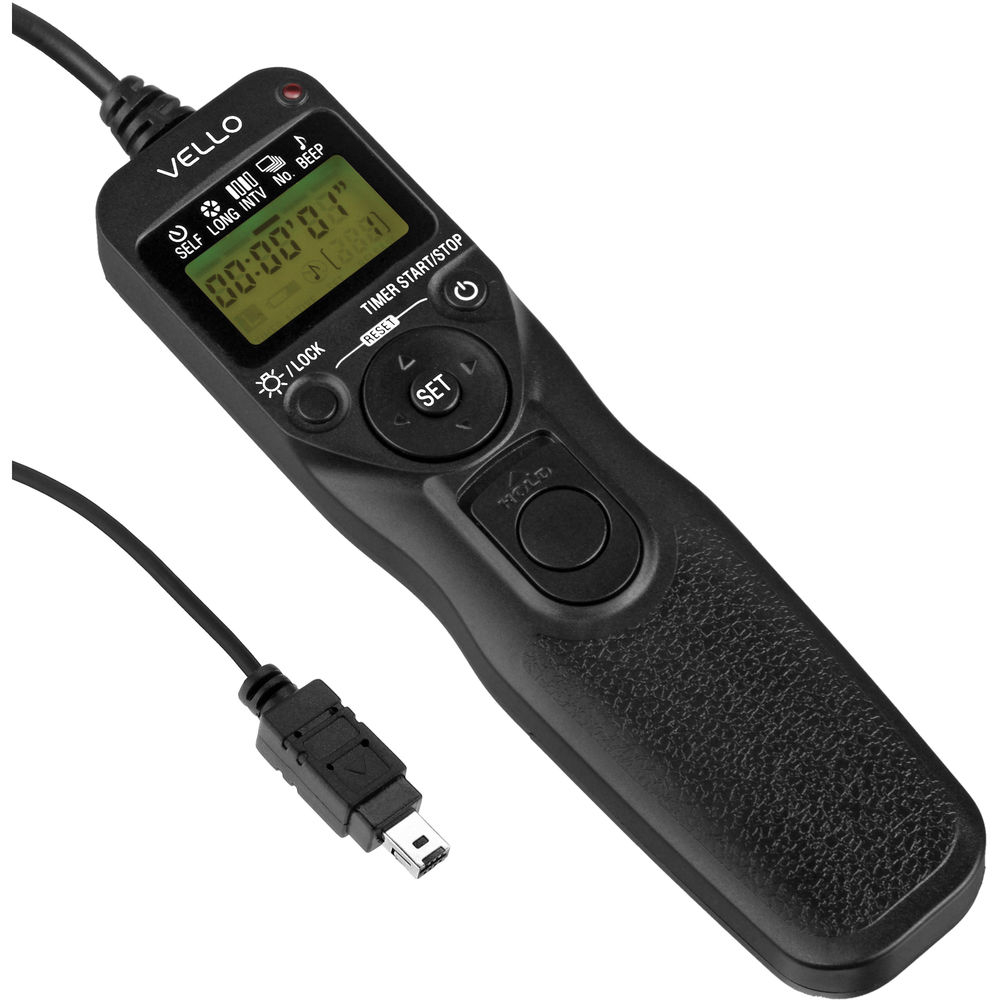
A good intervalometer is necessary to shoot longer than 30 seconds on most cameras. I prefer the Vello brand. There are both wireless and wired remotes available, but I find the wired to be more reliable.
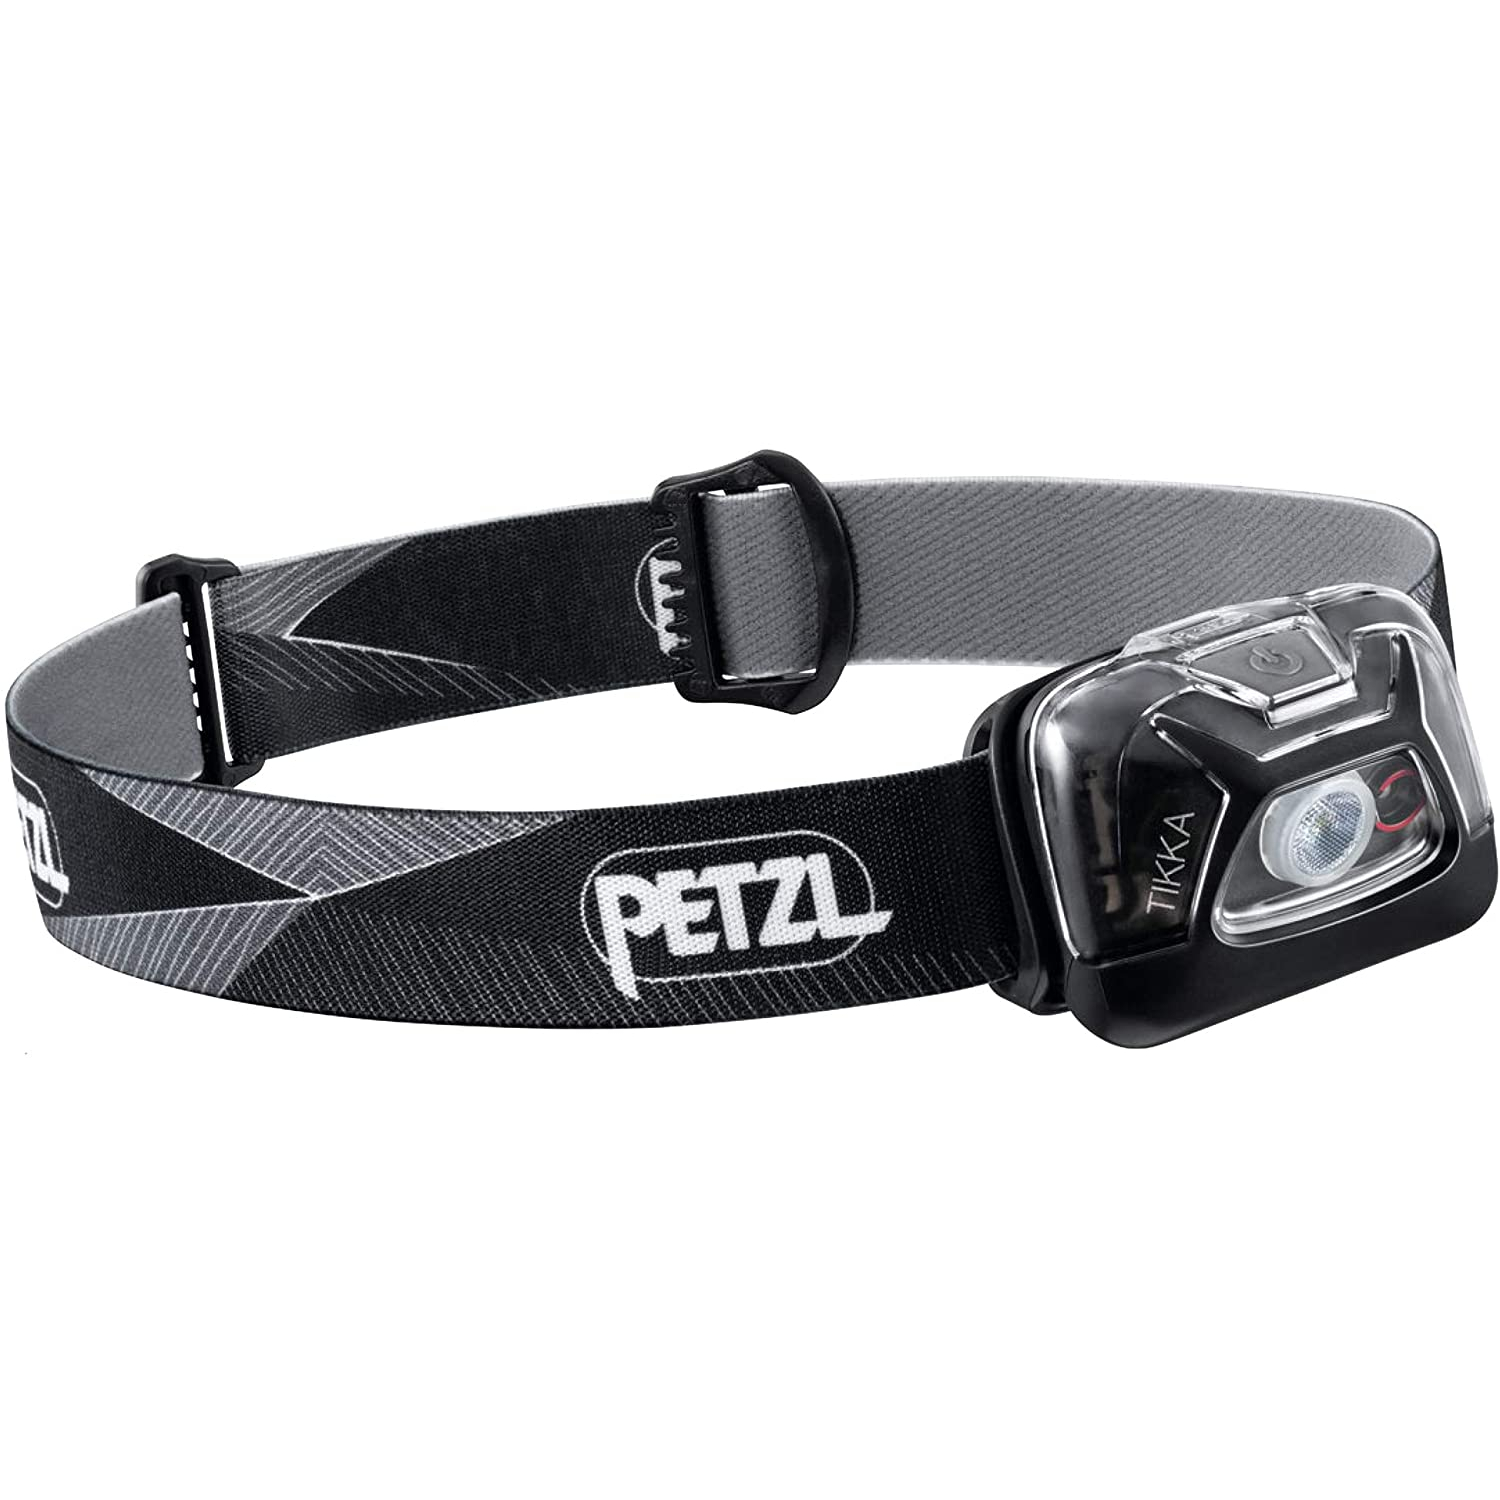
You'll also want a good headlamp for walking around at night. Most importantly, the headlamp should have a red light function. This red light will preserve your night vision, and be less annoying to anyone else shooting with you.
Comments
Comment on this video
Make a Donation
Support this channel with a recurring or one-time donation

