Video OnTheGo
Simply scan this QR Code with your smart phone
to take this video with you on the go.
 Got it!
Polar Alignment Tutorial

Peter Zelinka
Additional Information
Related links, images and relevant information involving this howtube video.
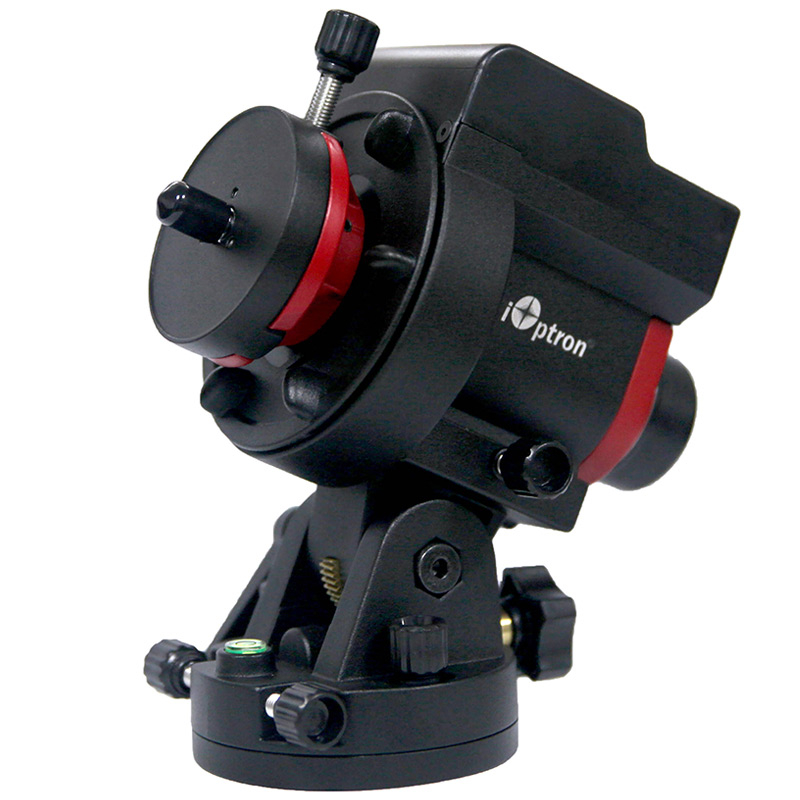
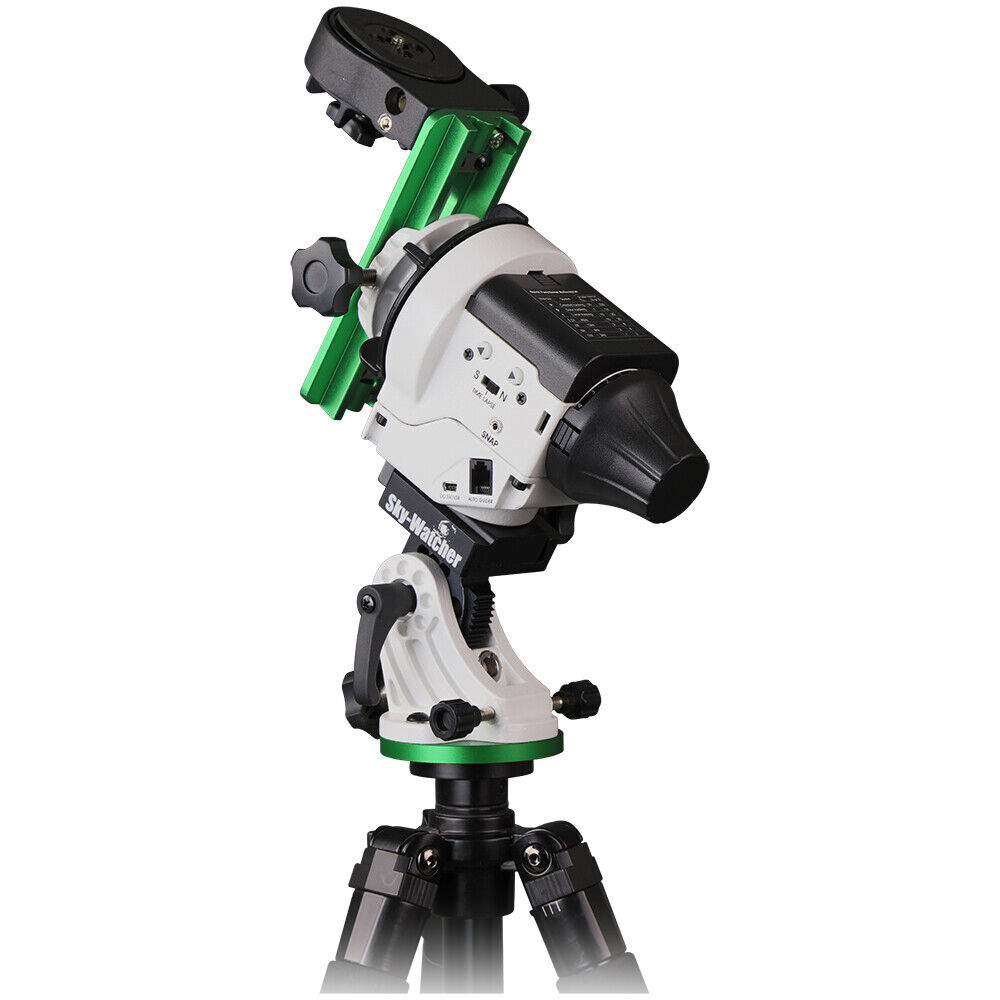
First things first, the included iOptron latitude base is not the best option. It was free, but the alt/az screws can be difficult to use at night. I'll be using the William Optics High Latitude base in this tutorial. It's not cheap, but you can use with with any of the star trackers on the market. The improved design will make your up/down and left/right adjustments much more precise. This is only really necessary though if you'll be shooting at 100mm often. If you're just doing Milky Way, then the William Optics base is overkill.
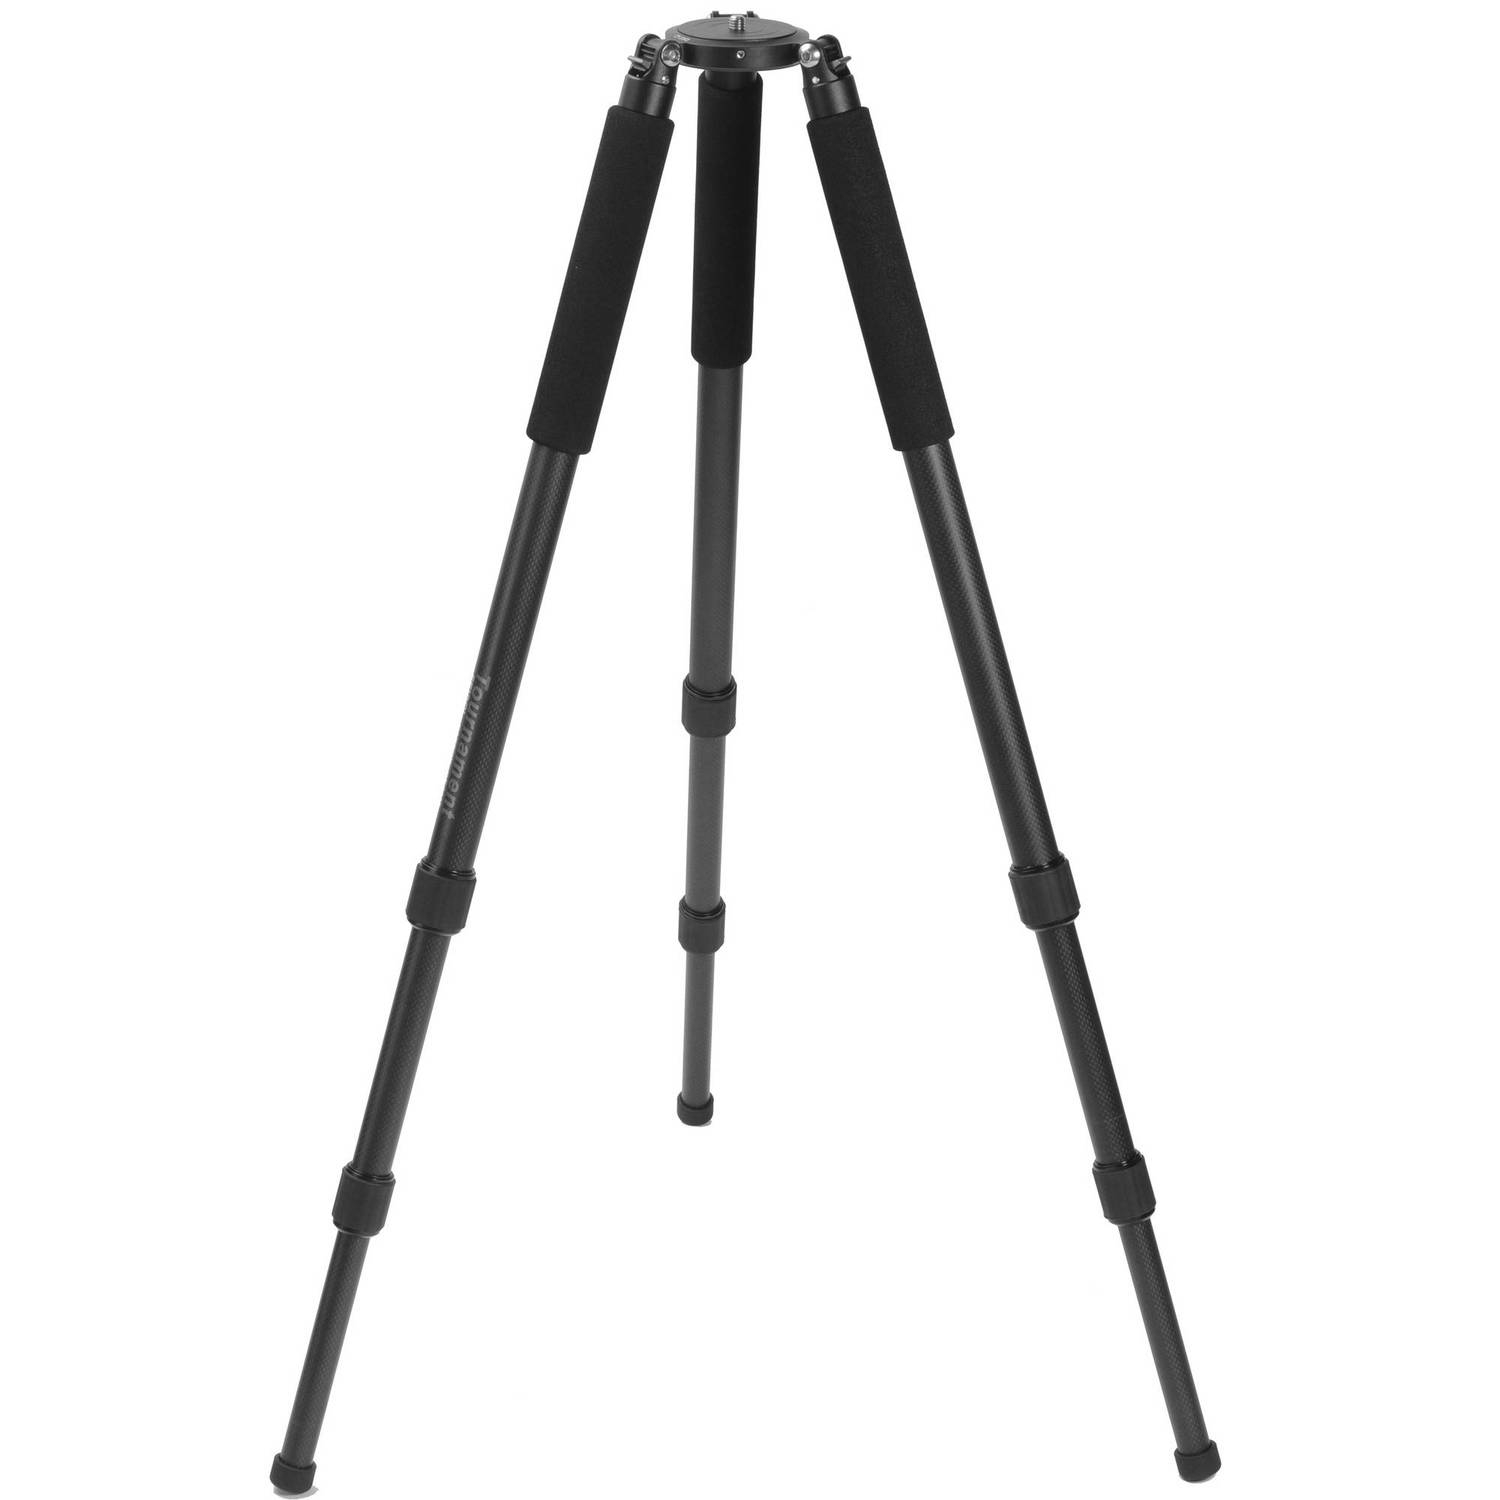
As for tripods, I highly recommend a tripod with no center column. A center column can really cause problems for a polar alignment. If it shifts very slightly, your perfect alignment is now ruined. I use a Feisol CT-3442 and I recommend it for star tracker astro.
When you first look through your polar scope, don't be alarmed that everything is upside down. That's normal.
If you look through the scope again, you'll notice a reticle. It will be different for every polar scope (iOptron, SkyWatcher, MSM, etc...) However, they all share the same principle features. There should be a crosshair in the middle, and at least one circle around it. (The iOptron usually has two concentric circles)
Our main goal with the Polar Alignment is to place Polaris properly on the circle. We don't want to put Polaris in the center of the crosshair. It needs to be offset slightly, which is why the circle is etched into the reticle.
Another important step is determining your current latitude. This will be dialed into your base. For example, if I'm in southern Utah, my latitude is 37 N. Now I can adjust the screws on my base until the arrow points to roughly 37.
Before we go any further, make sure your tripod legs are securely tightened. If one of the knobs is loose, it will cause problems later.
Now we are ready to look up into the night sky and find Polaris. Once you've identified Polaris, move the tripod and tracker until Polaris is centered up over the top of the tracker itself.
Finally, look through the scope and see if Polaris is visible inside. Chances are, it is not currently inside the polar scope. You can adjust your altitude and azimuth screws until it drifts into the field of view.
Next, let's load up the app on your smartphone to see where Polaris needs to be placed on the reticle. When we have that information, we can make further adjustments to the alt/az screws until Polaris is at the correct spot on the reticle.
We've now completed the Polar Alignment! Do not move the tripod from now on. If you do, you'll have to re-do the polar alignment.
For those shooting at 200mm , you'll want to check the polar alignment after you've attached all your camera gear to the star tracker. Polaris likely will have shifted slightly and you'll need to adjust the alt/az screws one last time to put Polaris back on the mark.
Featured Products For This Video
Shop for the products you need/found in this video

Comments
Comment on this video
Make a Donation
Support this channel with a recurring or one-time donation


hasanmd
Oct 24, 2022